
ビジュアルコンテンツは、ユーザーを惹きつけるために極めて重要であることは間違いない。あなたがブロガーであれ、アフィリエイターであれ、eコマースのオーナーであれ、そうでない人であれ、様々な理由でグラフィックコンテンツを追加する必要があるかもしれない。
画像はそのような重要なグラフィカルコンテンツの一つです。多くのユーザーは、WordPressのテーブルに画像を追加する方法をまだ知りません。しかし、画像をテーブルに追加することで、以下のような様々なタイプのテーブルを簡単に作成することができます。 比較, 製品仕様, 価格表等々。
In this article, we’ll show you two easy methods of how to add an image to a table in WordPress. Let’s get started!
-
Method 1: デフォルトのテーブルブロックを使う
-
方法2: Tablebergブロックの使用
美しいテーブルを作る
ブロックエディター付き

方法1:デフォルトのテーブルブロックを使う
The default Gutenbergブロックエディタ には、ツールバーにあるインライン画像オプションが付属しています。ツールバーの Inline Image optionを使えば、WordPressのテーブルに簡単に画像を追加することができます。
手順はこうだ。
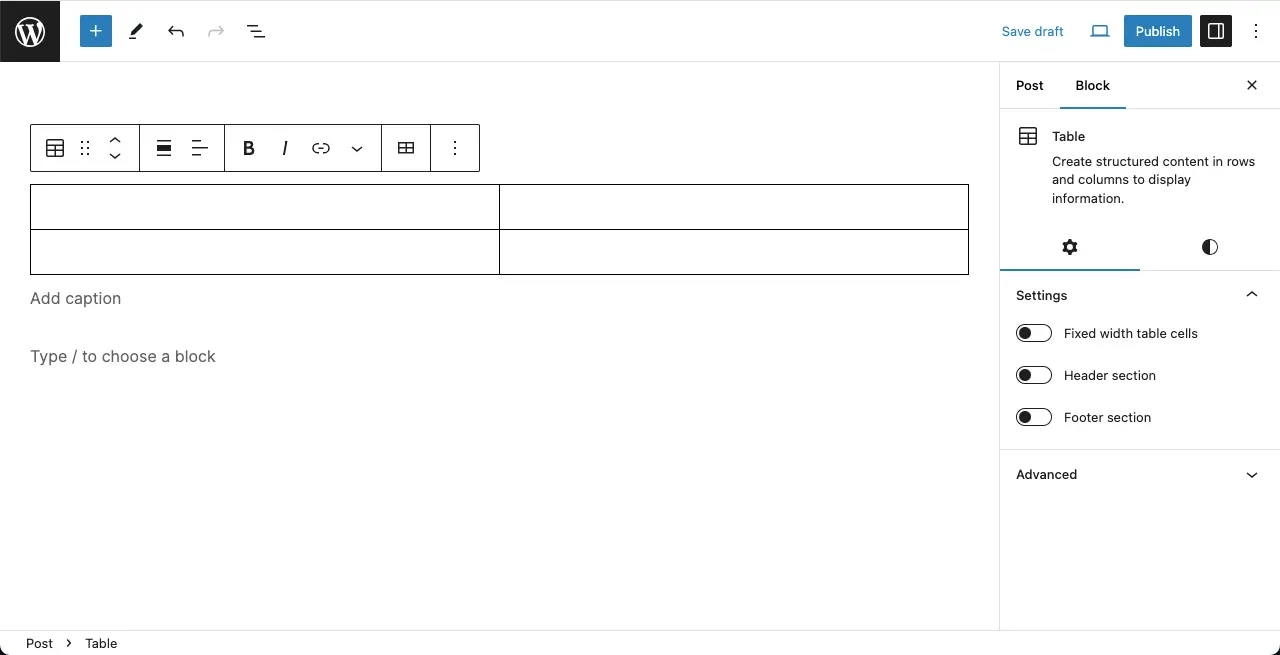
ステップ1:エディターにテーブル・ブロックを追加する
Open a post or page where you want to add the table. Add the Table block to the editor.
Define the number of rows and columns.
The table will be created in a few seconds.
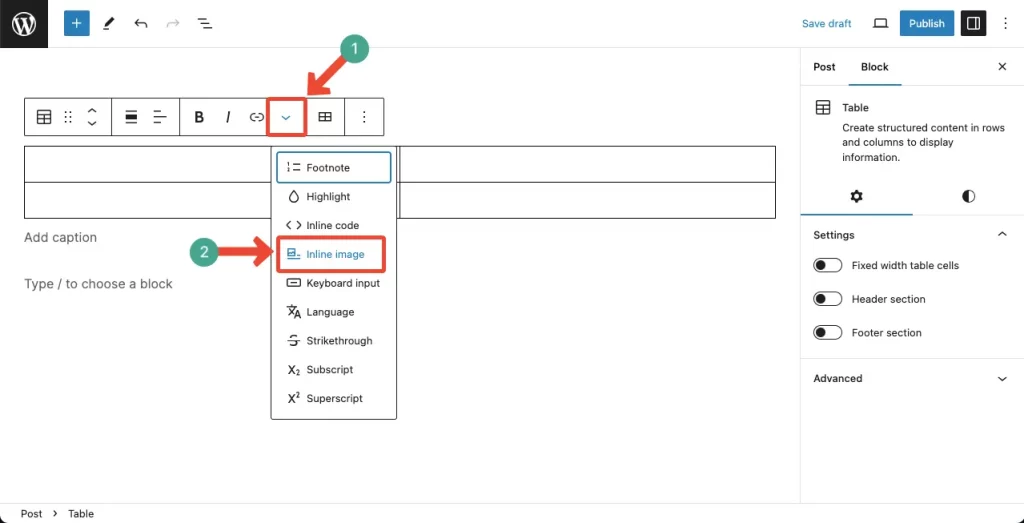
ステップ 2: インライン画像オプションをテーブルに使用する
Place your cursor on the cell where you want to add an image. The toolbar will show up.
をクリックする。 More option on the toolbar. Find and hit Inline Image on the list.
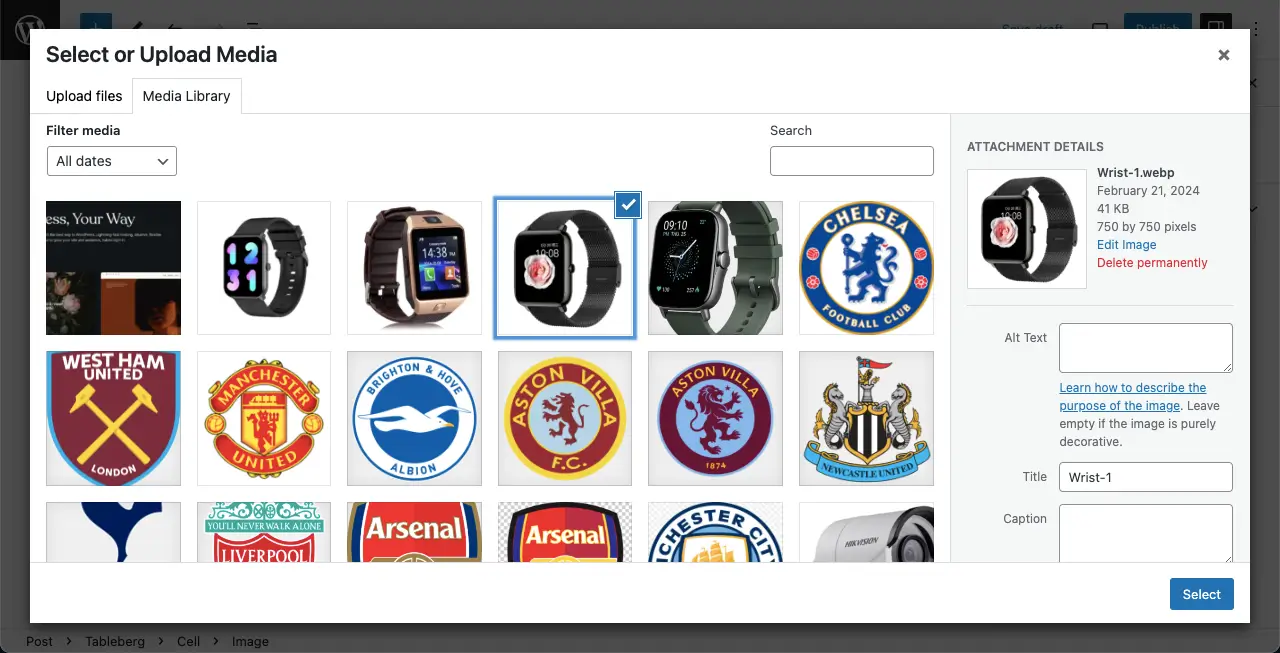
ステップ3:画像の選択と追加
You’ll be allowed to add an image whether from the Media Library or by uploading from your local drive. Choose the image you want. Click the Select button at the end.
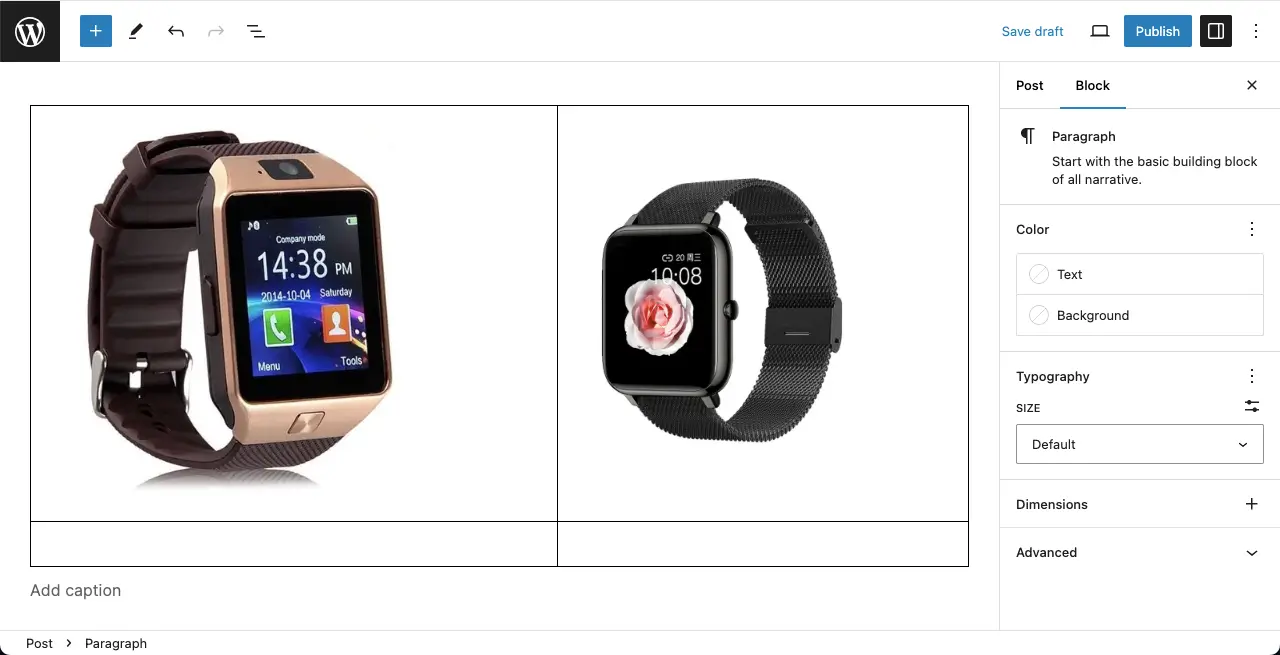
The image will be added in a second. Now, you can increase its size by changing its width.

Similarly, add a new image to the other column using the same Inline Image option.
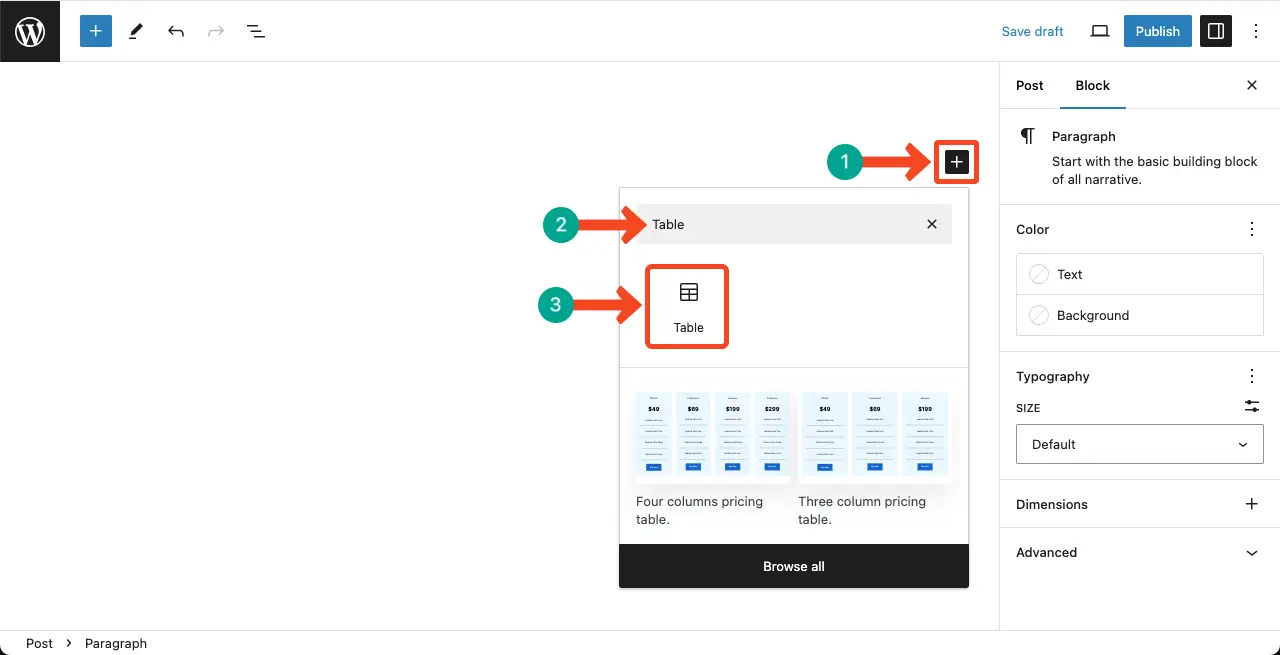
方法2:Tablebergブロックを使う
テーブルバーグ is a feature-rich and beginner-friendly table builder plugin. With this plugin, you can also build tables and add images to their cells. We have explained the process below.
注:次のことを確認してください。 Tablebergプラグインをインストールし、有効化する。.
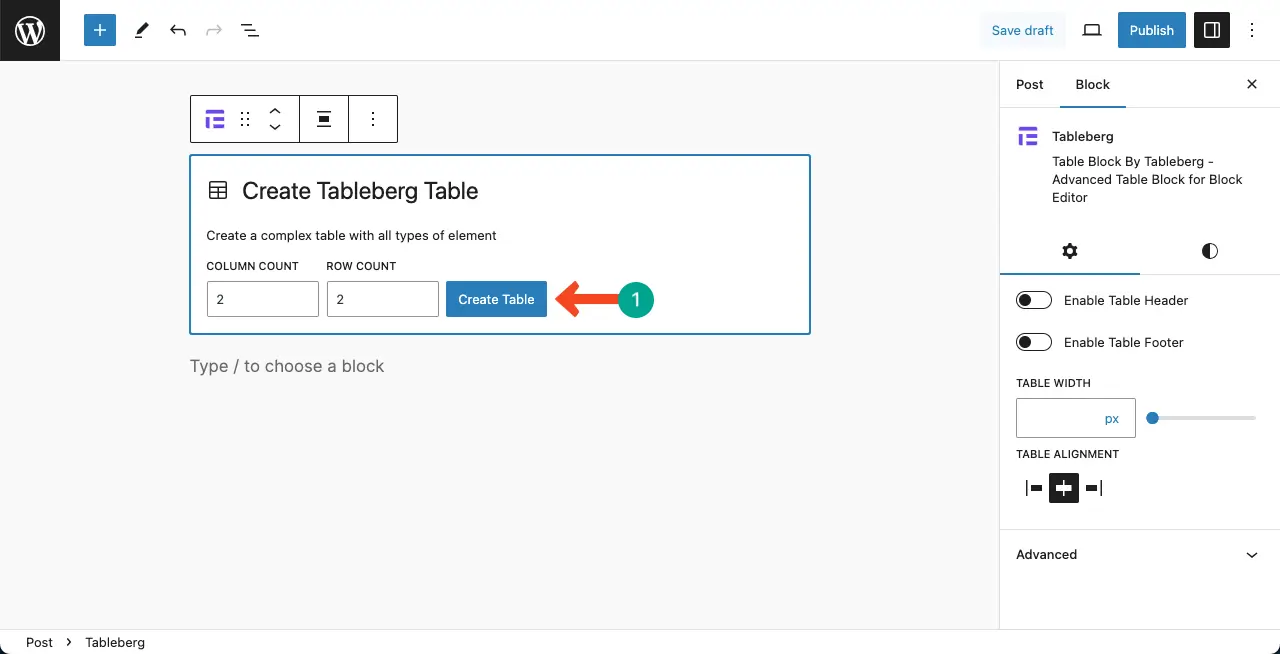
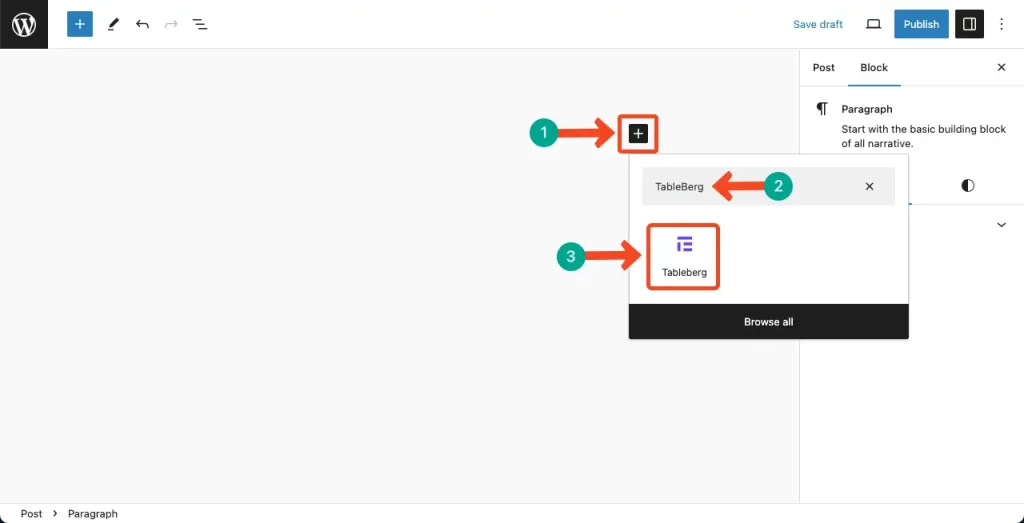
ステップ01: エディターにTablebergブロックを追加する
Find and add the テーブルバーグ・ブロック to the editor. The block works the same way as the default Table block as shown above.
Define the row and column number.
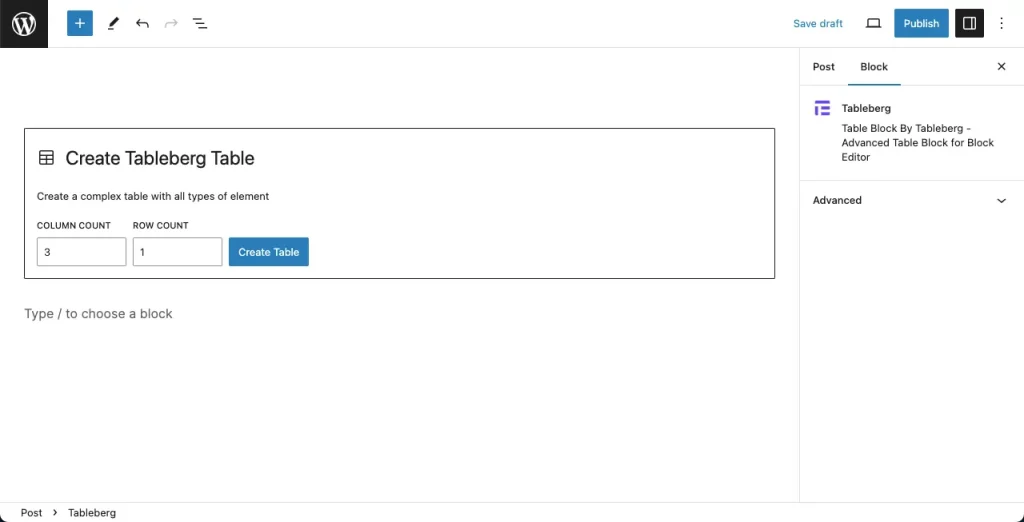
The table outline is ready.
ステップ2:画像ブロックをテーブルに追加する
Tablebergには イメージブロック.と同様の働きをする。 グーテンベルグ画像ブロック.画像ブロックをセルに追加します。
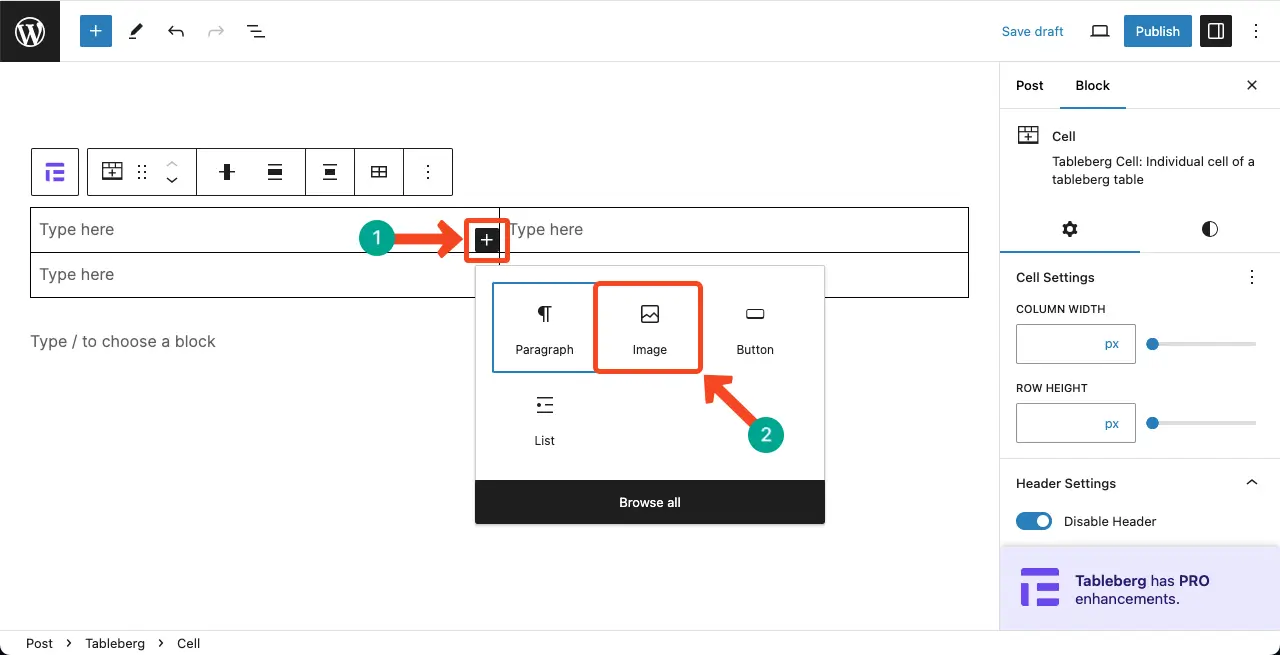
Select the option to upload your desired image from the respective source. For this tutorial, we’ll upload the image from the Media Library.
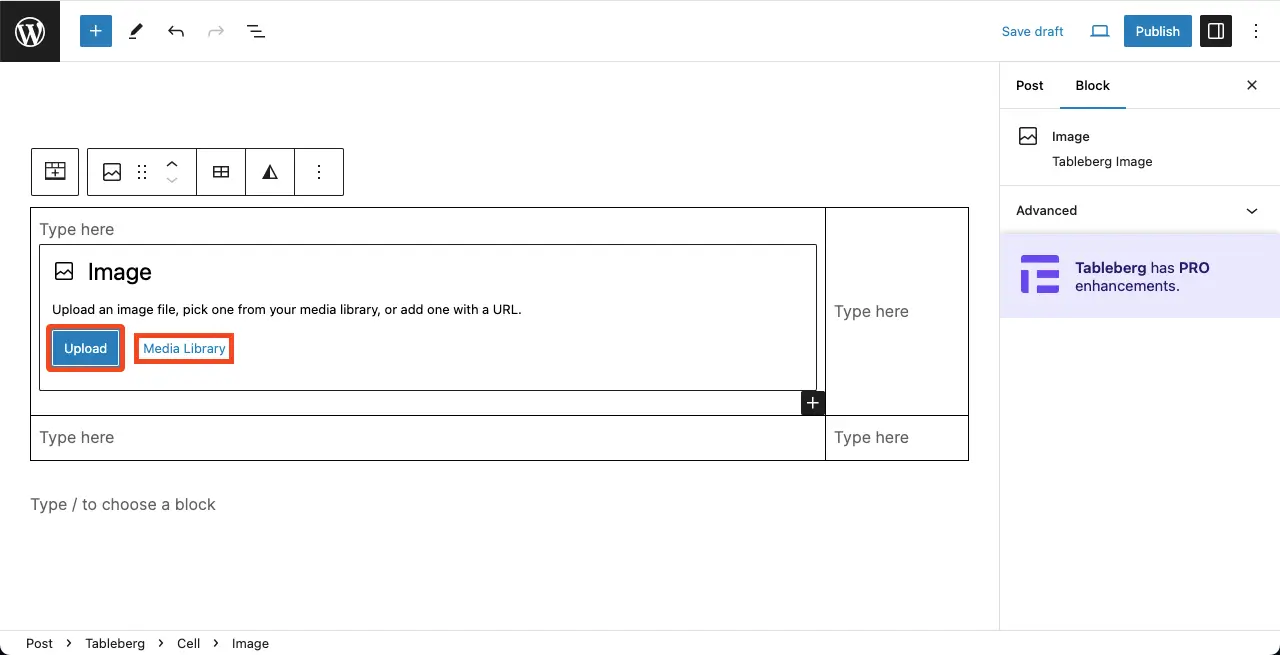
ステップ3:画像の選択とアップロード
Hope you know what you have to do here. Choose an image and click the Select button.
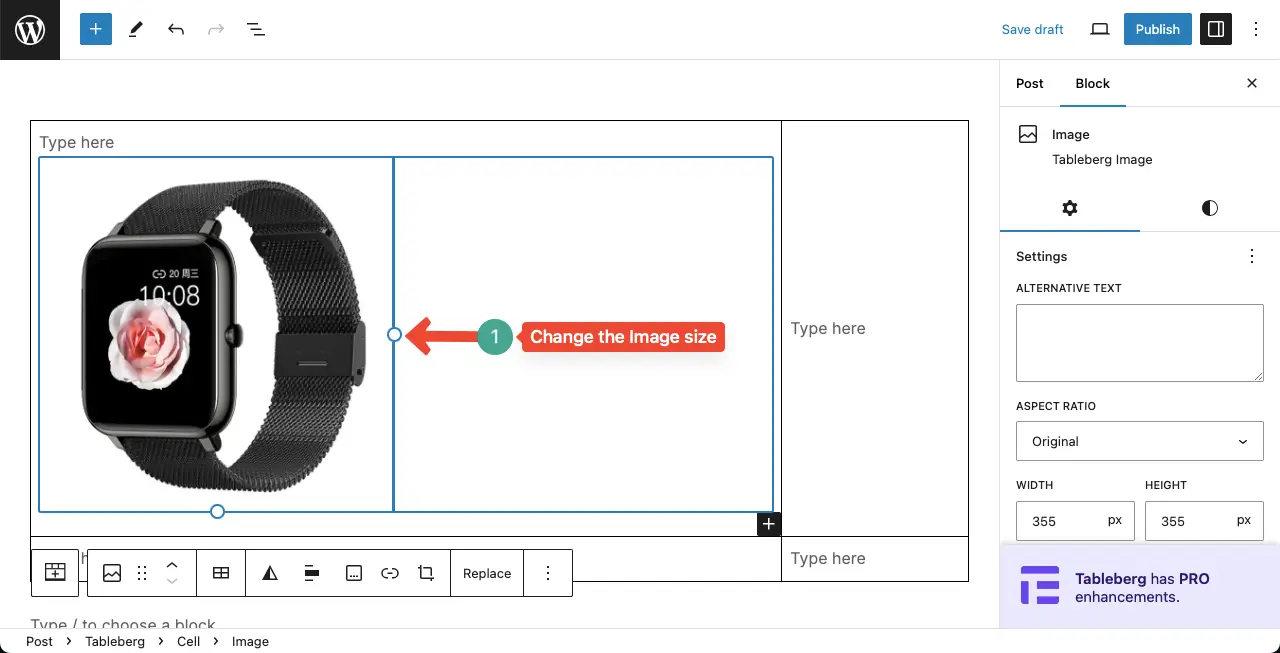
The image will be added to the table instantly. You can change the size of the image by dragging the edge line as shown in the image below.
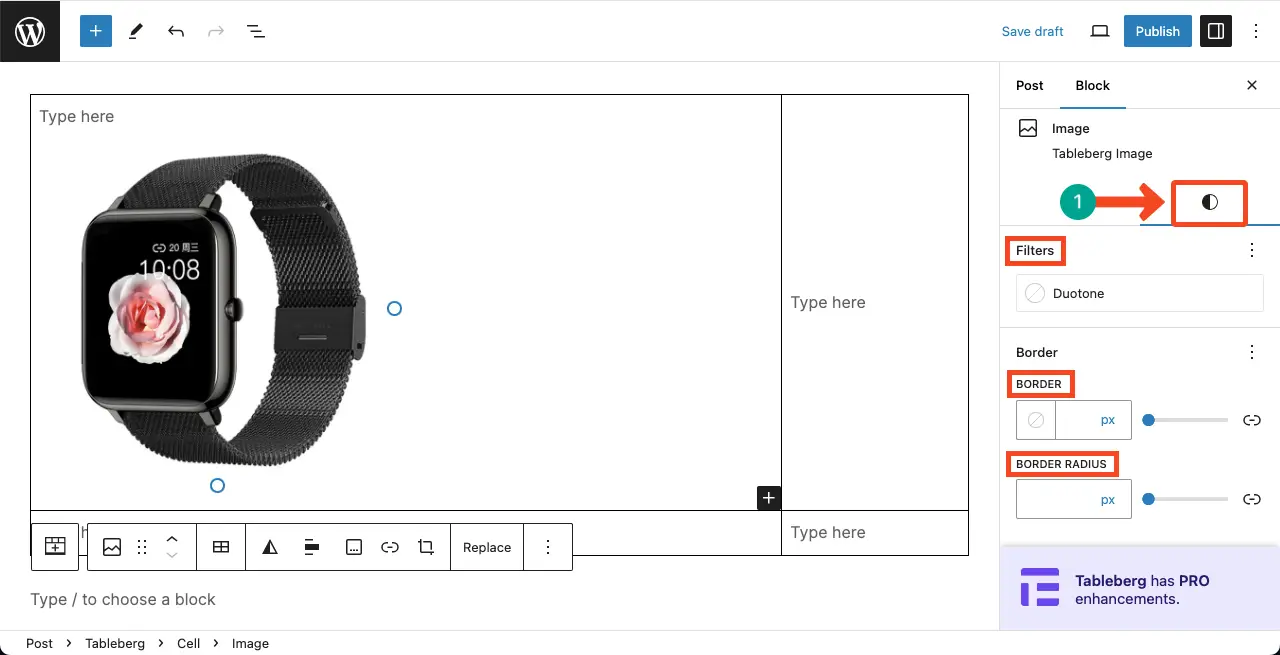
ステップ4:画像のカスタマイズとスタイライズ
に来てほしい。 設定タブ on the right sidebar. You can add an alternative text, aspect ratio, width, height, and resolution, which aren’t possible with the Inline Image option.
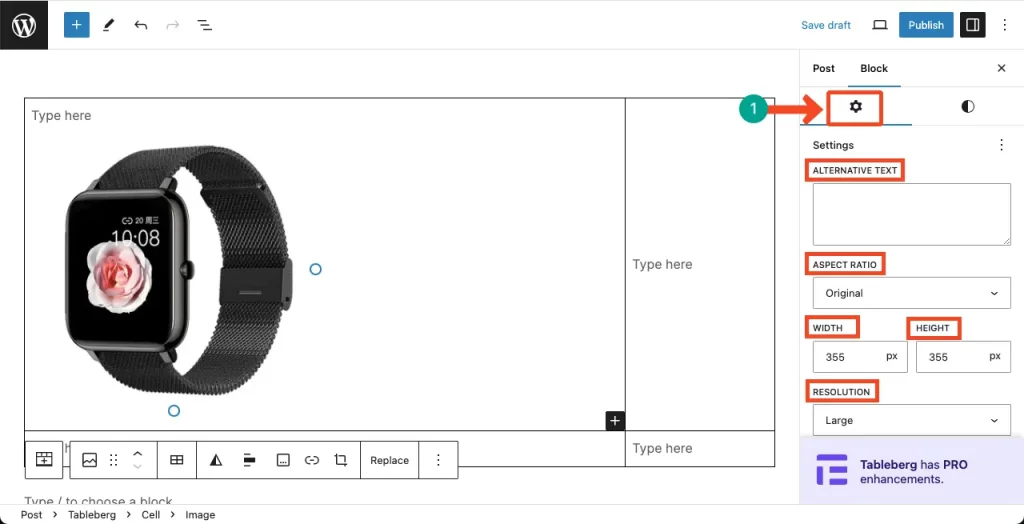
に行く。 スタイルタブ. You can add a border and the border-radius using options from this tab.
Thus, you can add images to the table in WordPress.
フィニッシング・ノート
Although TableBerg is a new plugin, it’s going to be a game changer. It’s going to take the Gutenberg-based table-building experience to the next level very soon.
With the TableBerg plugin, you can add not only images but also various other types of content like ribbons, ratings, bullet lists, CTA buttons, custom HTML, etc.
Using them you can create multifunctional tables with the plugin. Check some posts:
- WordPressの画像を列と行で表示する方法
- How to try TableBerg without installing it on your site
- How to create a product comparison table
- How to create a product specification table

