Captions quickly explain what a reader is looking at. Whether next to a photo, a chart, or a graph, they save readers from guessing and help them pick up the main point instantly. A caption delivers the context straightforwardly in one small line.
A table organizes data, but rarely tells the full story by itself. Sometimes a paragraph or heading above it sets the context. But when readers skim or land straight on a table, that explanation might be missed. A caption placed directly on the table clears up confusion and makes its purpose obvious. It matters even more when several tables appear on the same page.
In this guide, we’re exploring the process of adding captions to WordPress tables. You’ll learn why a brief caption can significantly enhance table clarity and overall readability. Let’s do it.
Add a Caption to a Table in WordPress
For this guide, we are using the bloque Tabla por defecto available in the WordPress editor. The Table block offers a simple way to organize content without needing extra plugins. Here’s how you can set up everything step by step:
Step 1: Insert the Table Block
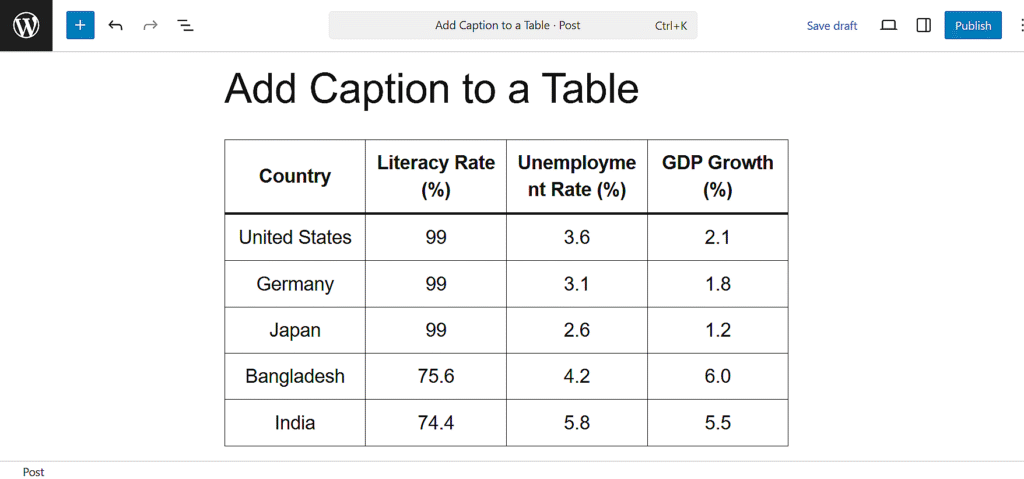
Open the WordPress editor, click the plus (+) button, and search for “Table.” Insert the Table block into your page or post. You will be asked to select the number of rows and columns you need.

Step 2: Add Your Table Content
Click into each cell and start packing your data in those cells. You can add text, numbers, or even basic formatting like bold or italics.
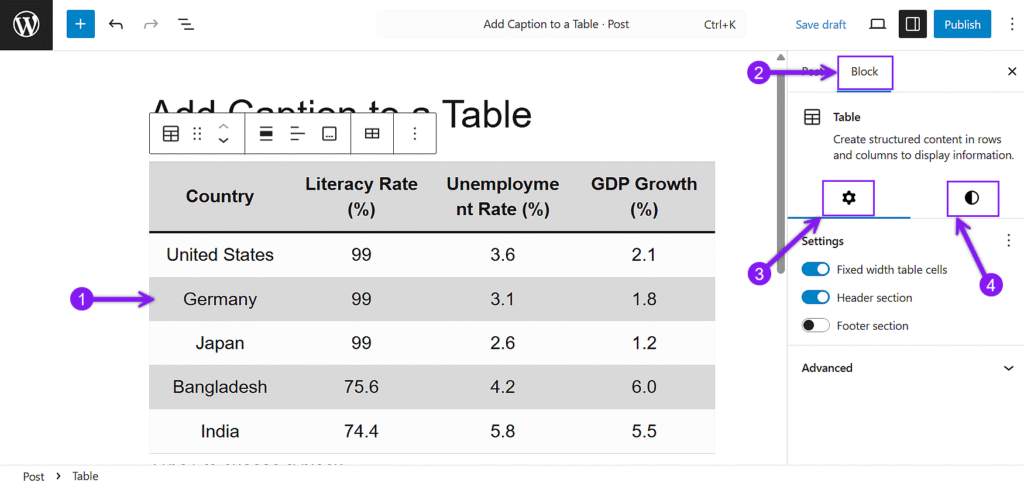
Step 3: Adjust the Table Style
Once your content is ready, you have to use the block settings on the right-hand side to style your table. You can toggle on and off the header and footer sections, add stripes to rows, and set text alignment. These options help improve the readability of your table without extra effort.
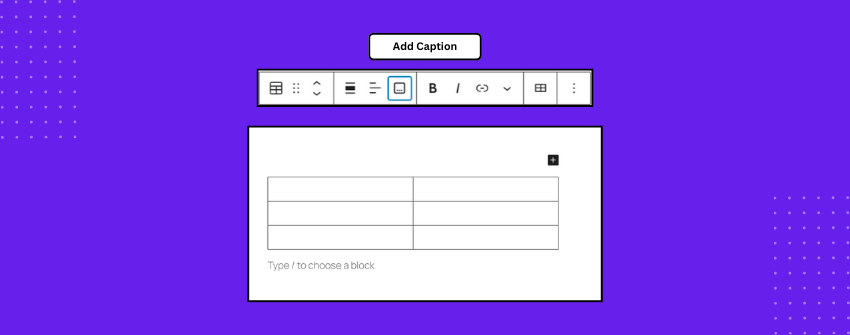
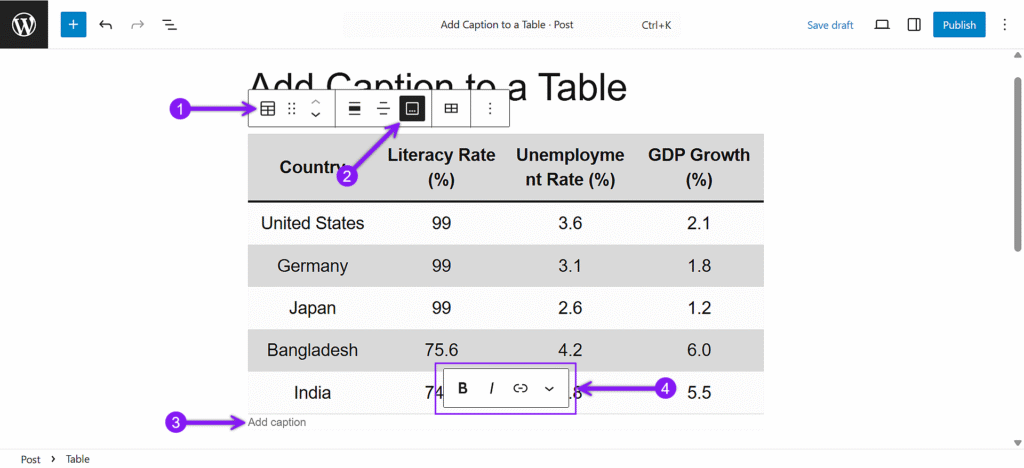
Step 4: Add a Caption
Now, click your table once again to bring up the block toolbar. From the toolbar, find the “Add caption” option, select it, and subsequently, a text field will appear just below your table. Write a short line that describes what the table contains while keeping it brief and clear. You can also apply basic formatting to the caption text, such as making words bold and italic, or even inserting a link if needed.
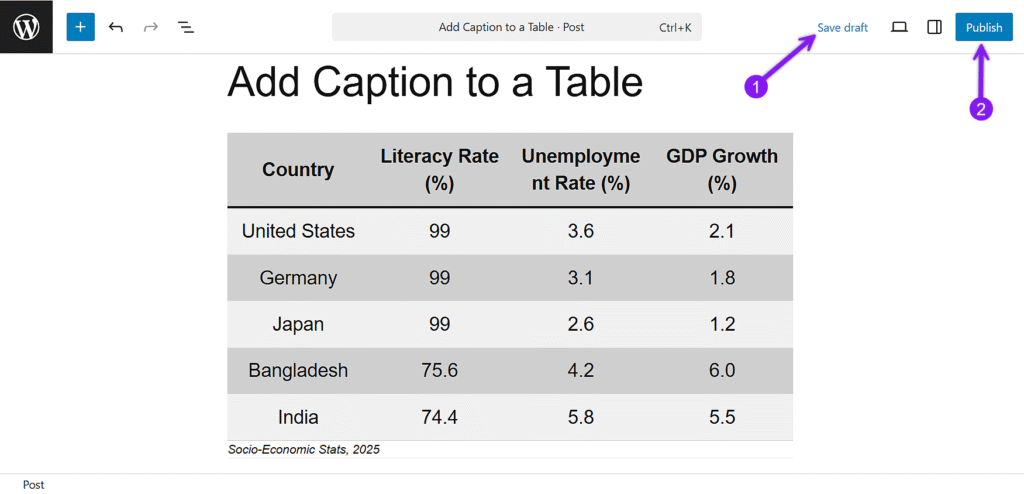
Step 5: Save Your Changes
After entering the caption, save your work and then update or publish your post. The caption will now appear neatly attached to your table, giving readers instant context without needing to read surrounding paragraphs.
Conclusión
Captions often get overlooked, but when used properly, they add real value to your tables. A simple line can explain the purpose of the data, make your pages easier to skim, and help readers stay focused without needing extra explanation. If you are using the WordPress Table block, adding a caption is quick, and it is one of those small touches that leave a lasting impact on how your content feels. That’s all for now.
Lea también:

