
While covering product reviews, comparison tables, tutorials, travel stories, infographics, educational content, etc., you may have to put texts and images side by side. There are numerous ways to do this in WordPress.
In this article, we’ll show you several effective ways of how to put text and image side by side in WordPress. So, be with us till the end. You’ll really learn something exciting.
Method 1: Using the Media & Text Block
Media & Text is a default block of the Gutenberg block editor. With this block, you can put text and images side by side without depending on any third-party tool.
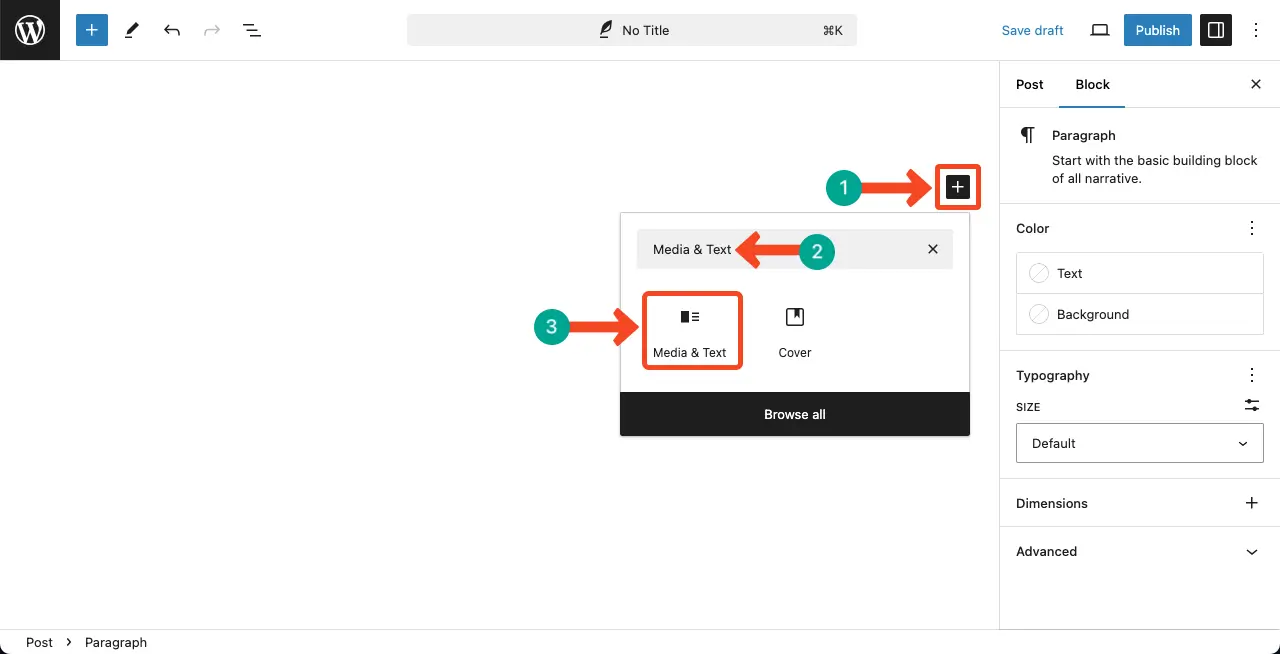
Step 01: Add the Media & Text to the Editor
Click the plus (+) icon on the editor. Type Media & Text in the search bar. Add the block to the editor.
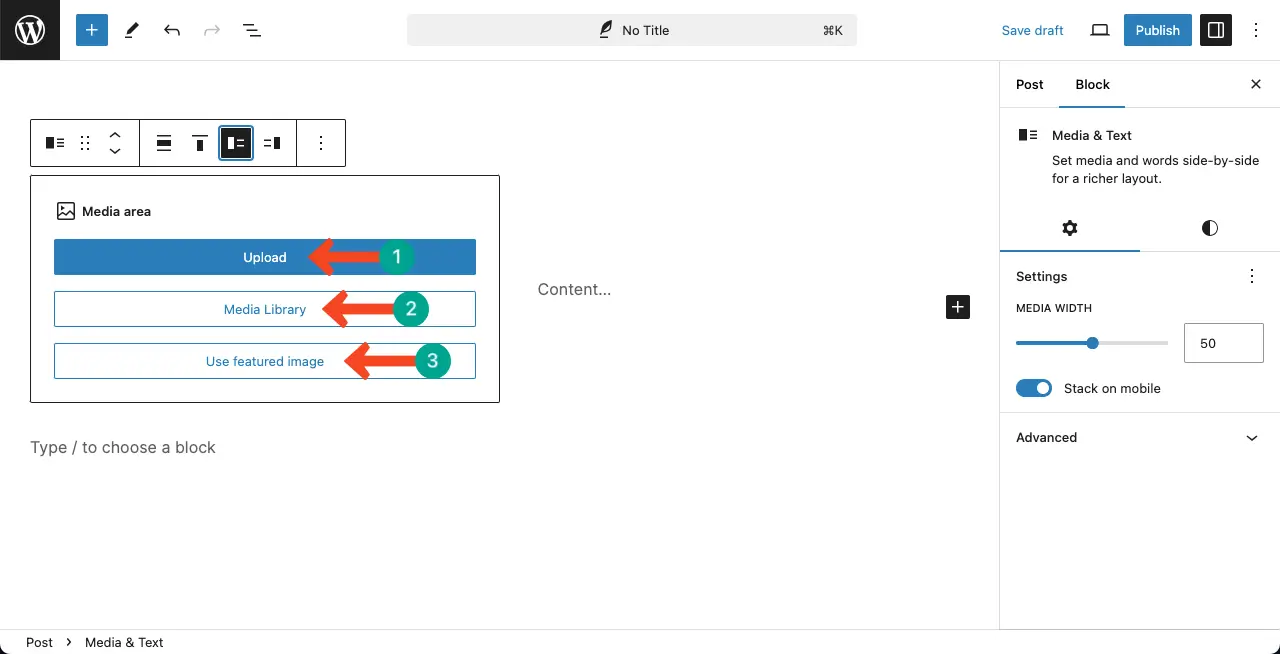
Step 02: Add/Upload an Image to the Block
You can add an image whether by uploading from the local drive, media library, or from the featured one. Choose the option you like.
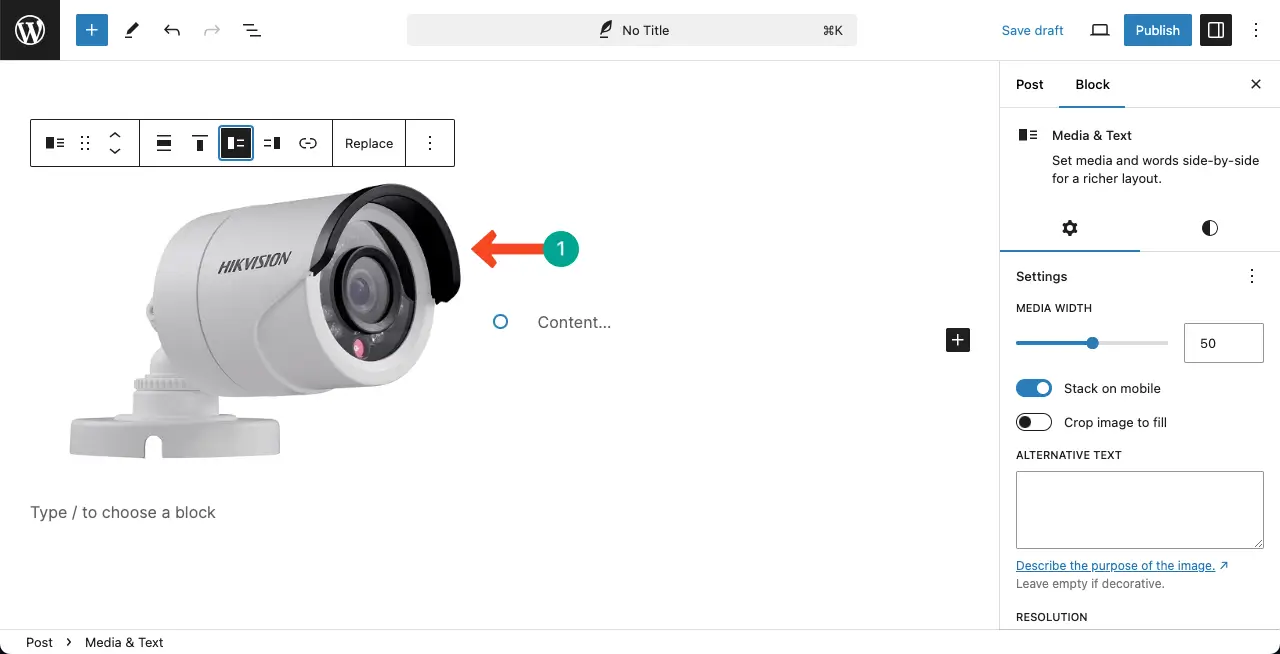
You can see the image is added to the block.
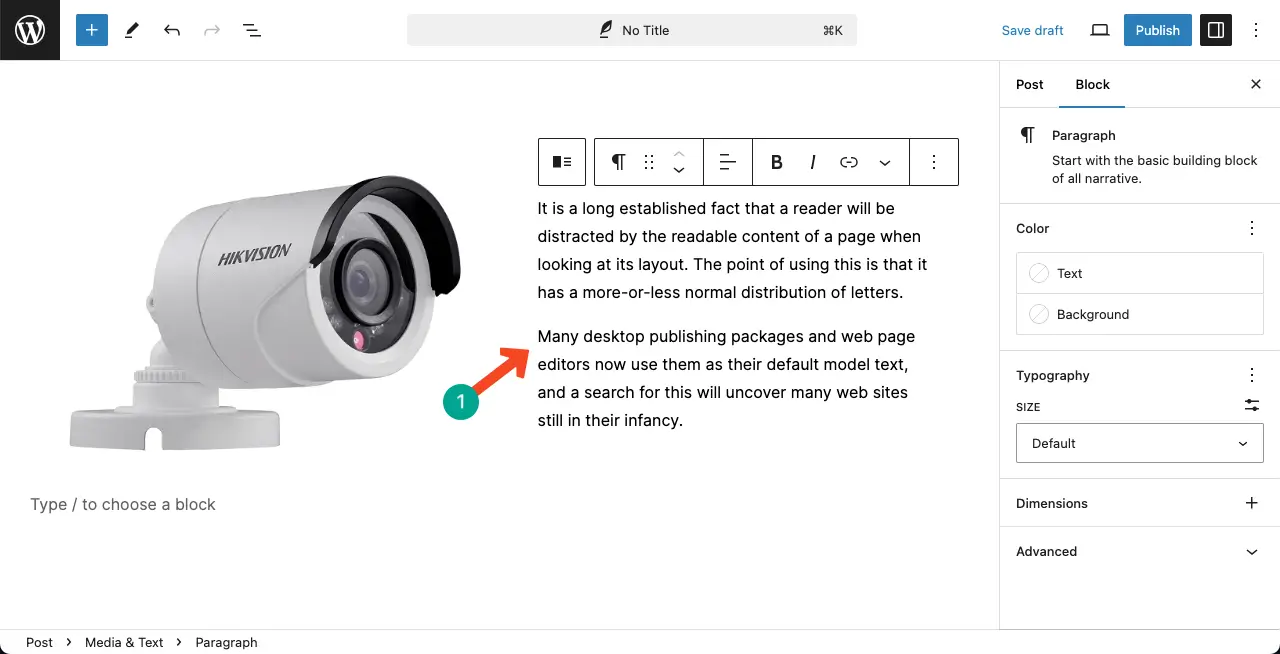
Step 03: Add Text to the Media & Text Block
Write your desired text on the right column of the block. You may customize the text color, alignment, and more if you want.
Step 04: Alternate the Text and Media File Position
The block allows you to alternate the position of the text and media files by clicking the respective options on the toolbar.
Method 2: Using the Columns Block
The Columns is also a default block of the editor. It’s one of the most used to blocks in WordPress content creation.
Step 01: Add the Columns Block to the Editor
You can display text and image side by side by adding the Paragraph and Image blocks separately within column blocks.
So, add the Columns block first to the editor.
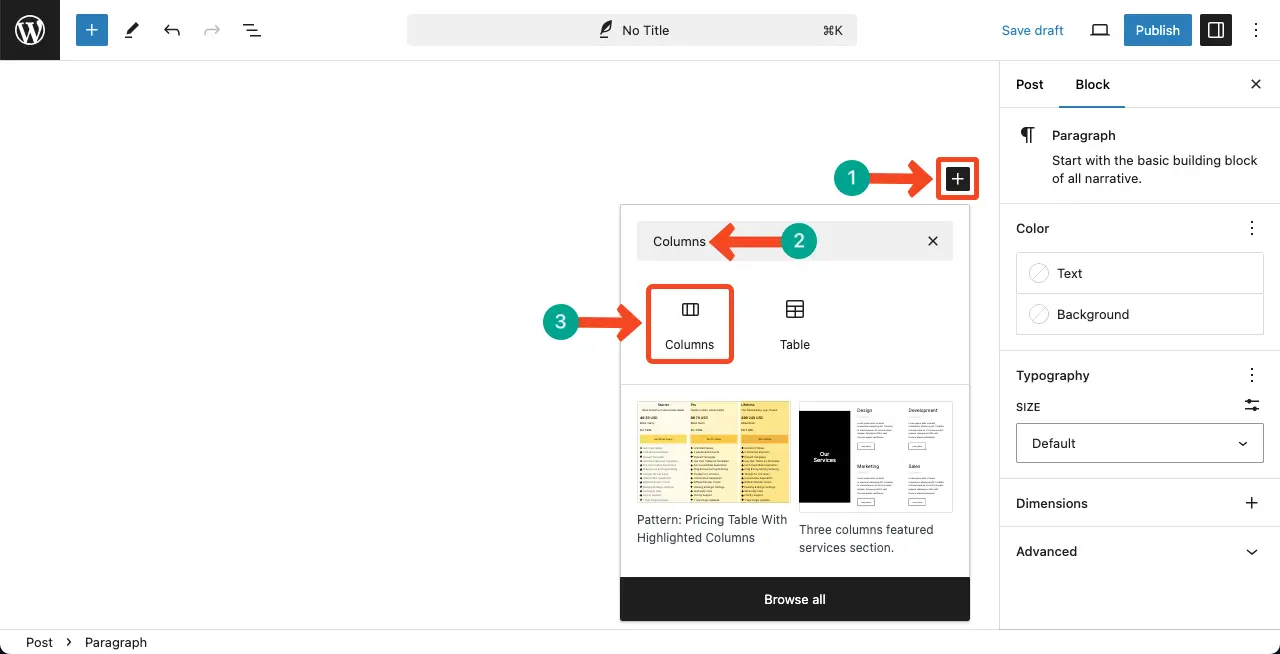
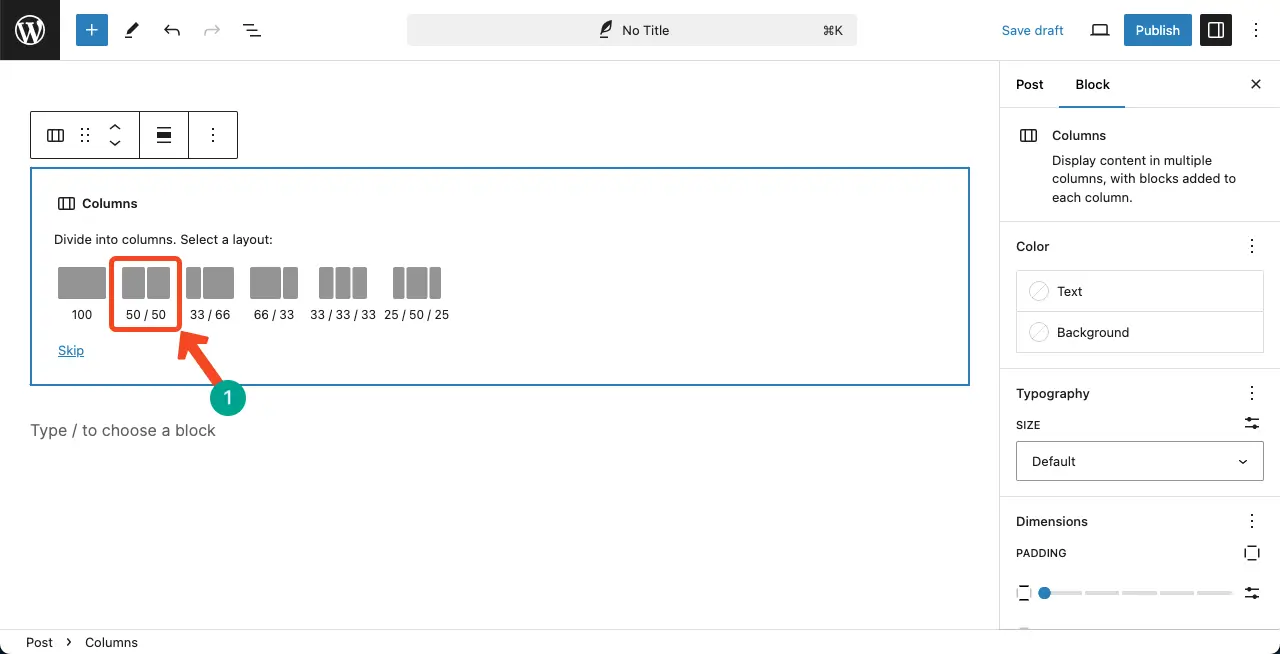
Select a two-column layout.
Step 02: Add the Image Block to the Columns Block
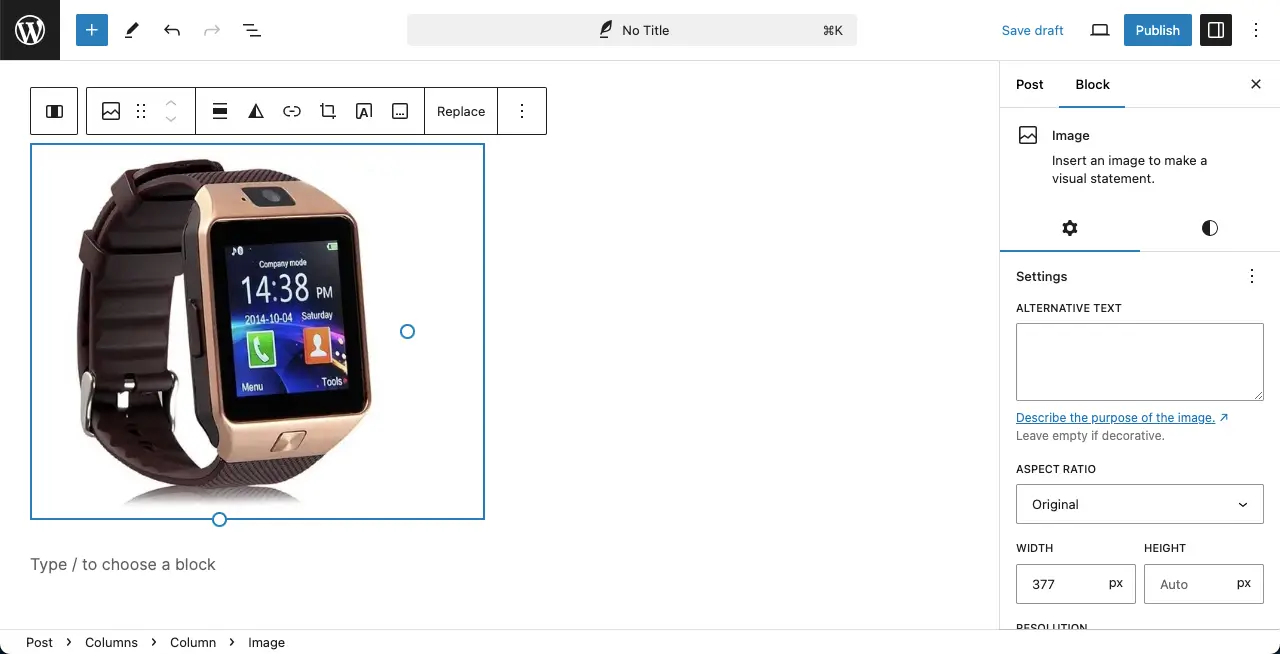
It’s better to display the on the left. So, add the Image block to the left column.
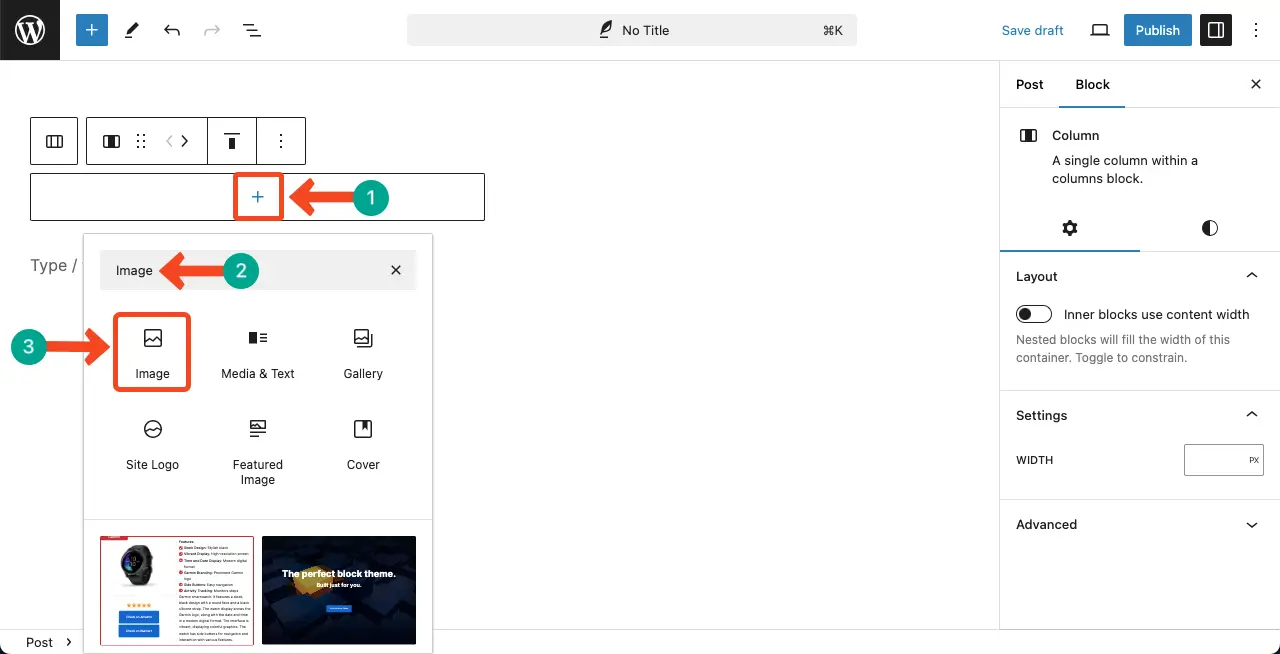
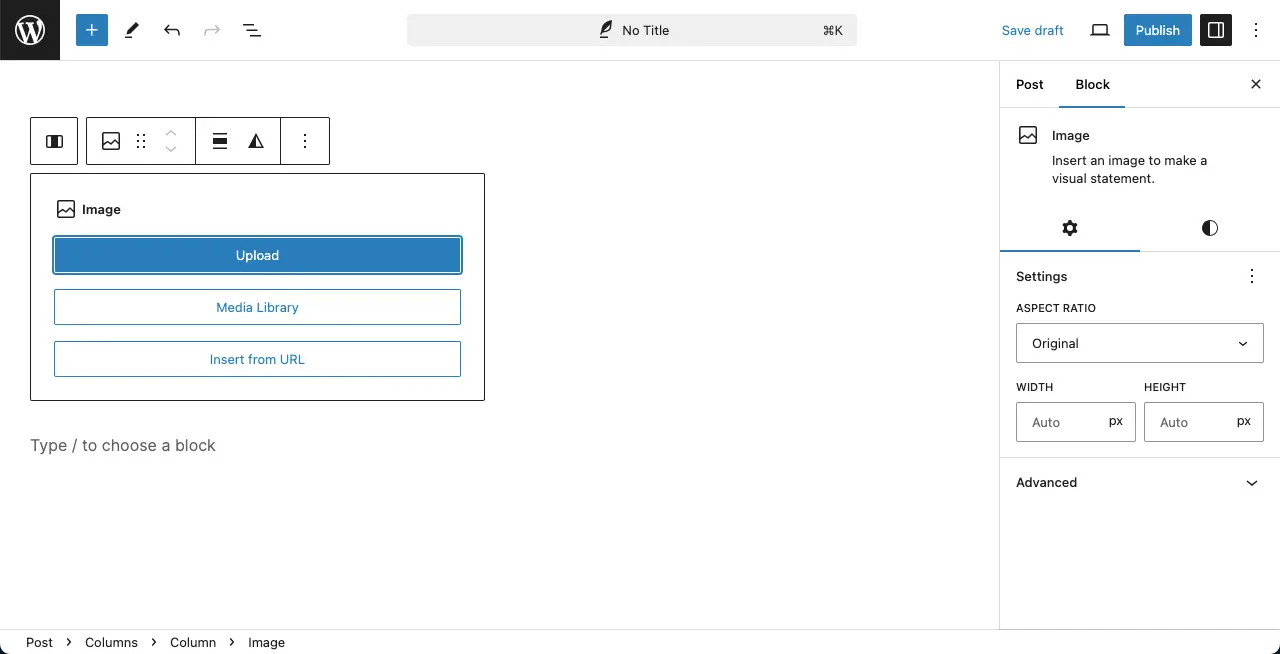
Here again, add your desired image, whether from the local drive, media library, or through a URL.
You can see the image has been added to the block.
Step 03: Add Text to the Cloumns Block
Add the Paragraph block to the right column. This will allow you to add text.

You can see the text is added to the column.
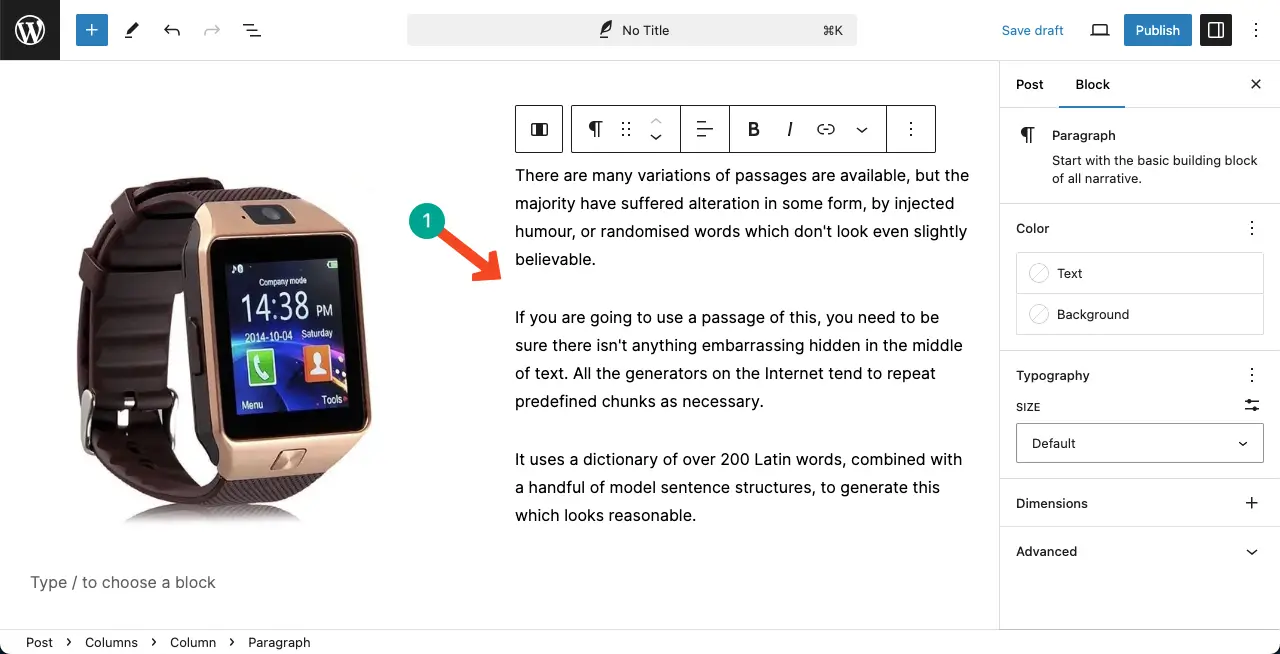
Next, you can customize the columns block, including the image and text on it.
Method 3: Using the Tableberg Block
Tableberg is a wonderful table builder plugin that allows you to design numerous parts for your website. This plugin also allows you to put text and images side by side. Download the plugin by clicking the buttons attached to the banner below.
Create Beautiful Tables
With Block Editor

Start following the tutorial now.
Step 01: Add the Tableberg Block to the Editor
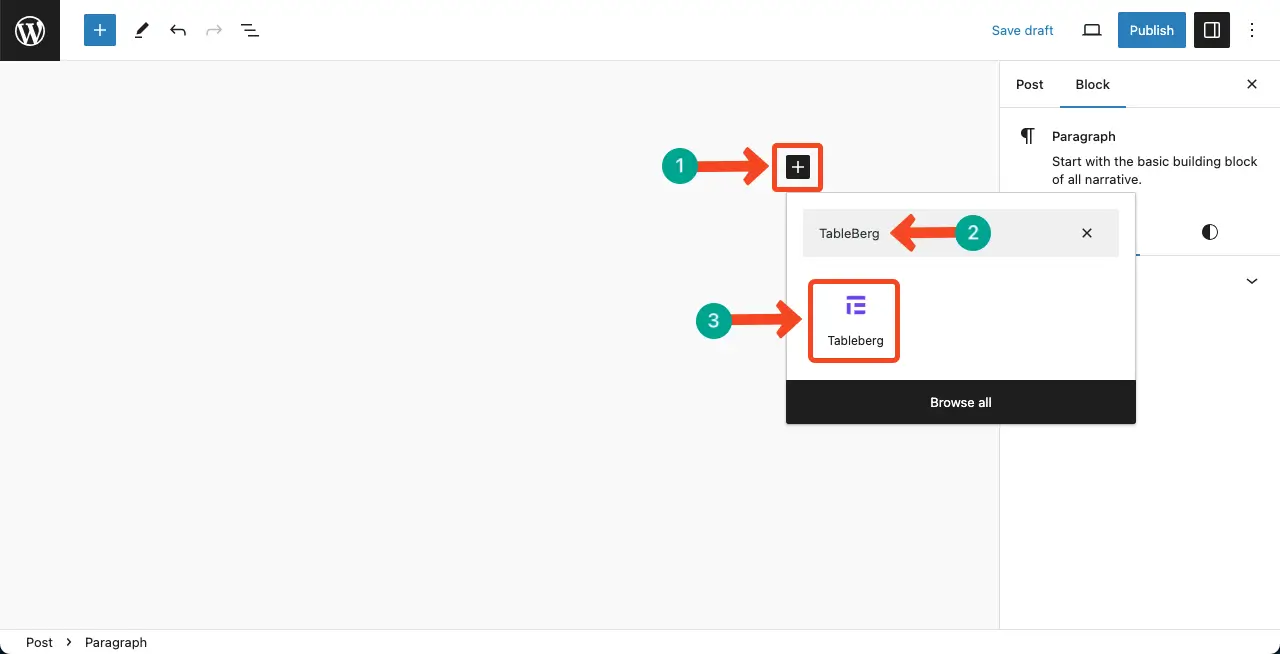
This plugin adds a block named Tableberg to the Gutenberg block library. Add the Tableberg block to the editor.
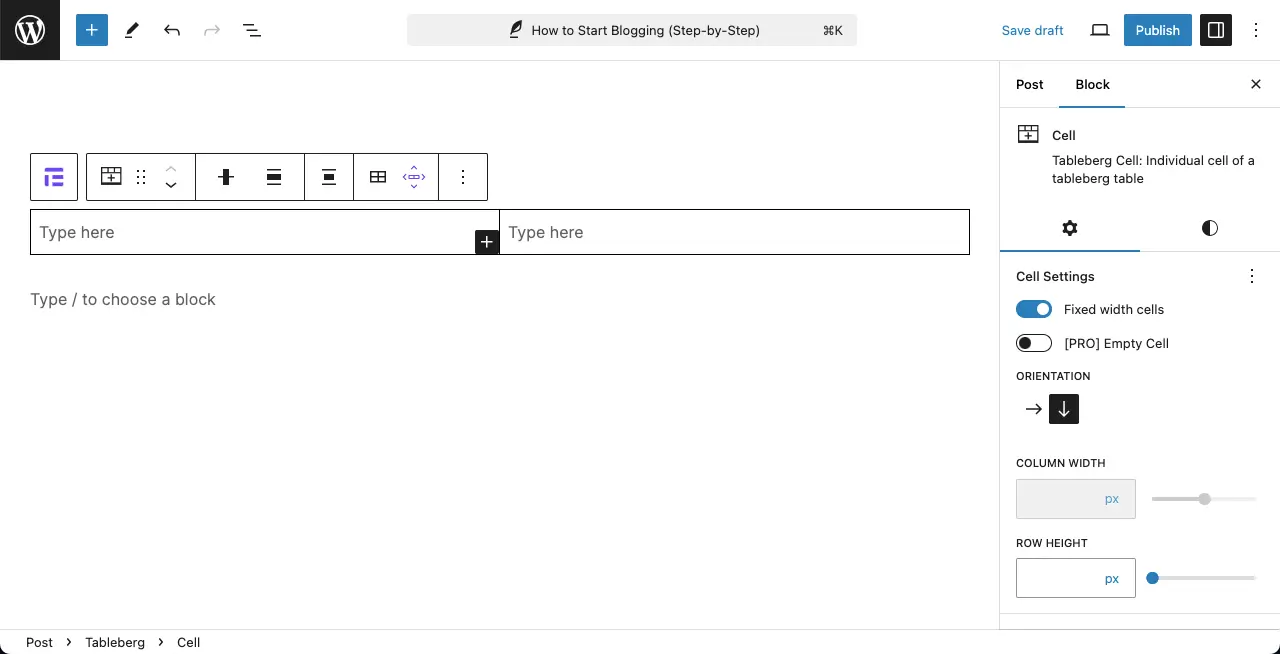
Select the number of columns and rows you need for the layout. We’ll select 2*1.
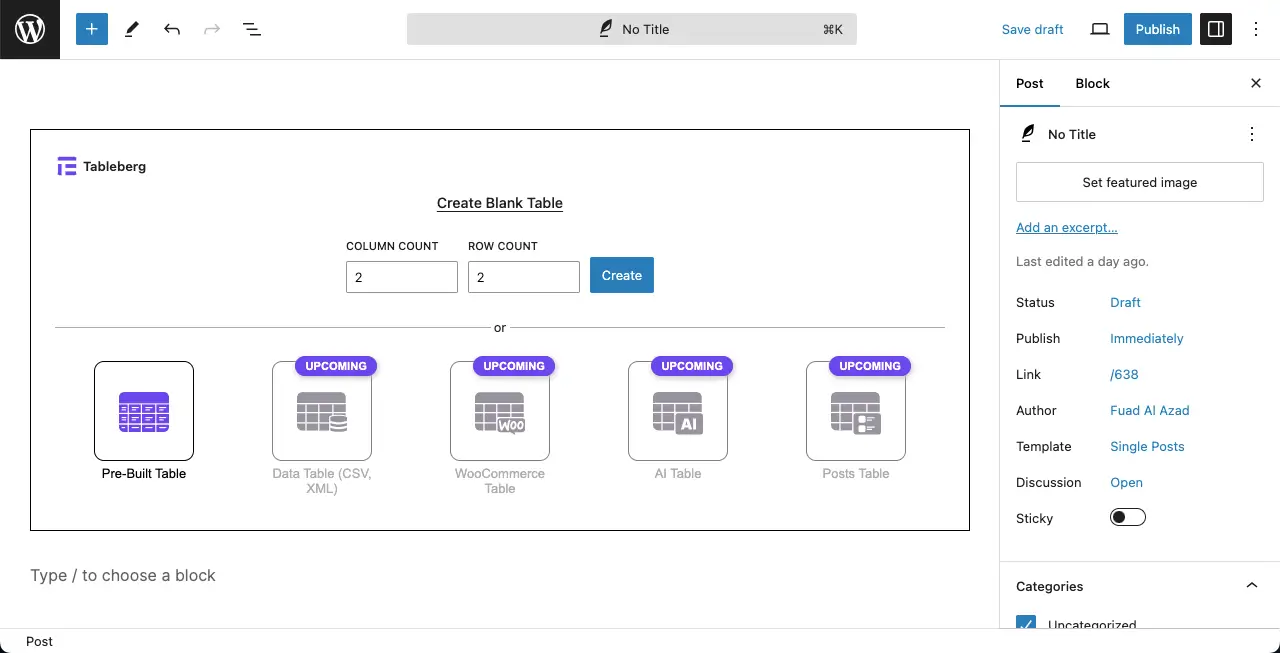
You can see the columns and row are ready.
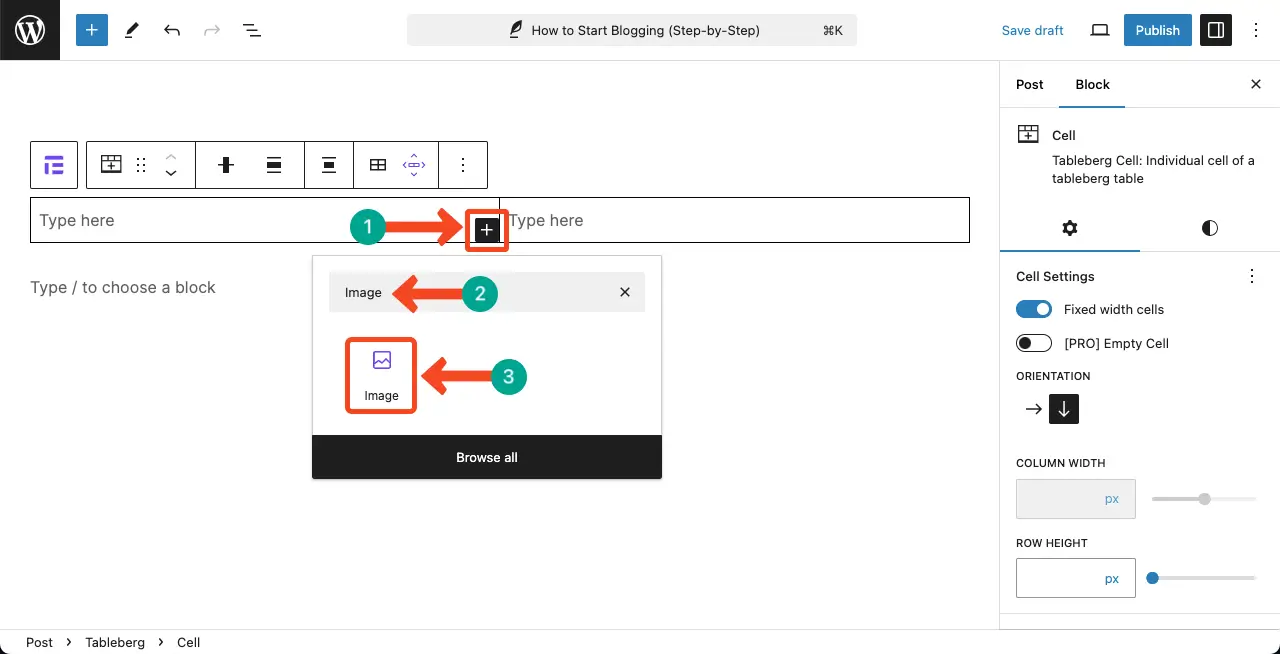
Step 02: Add an Image to a Cell of the Table
Tableberg lets you add several custom blocks to its cells. By clicking the plus (+) icon, find and add the Image block to one of its cells.
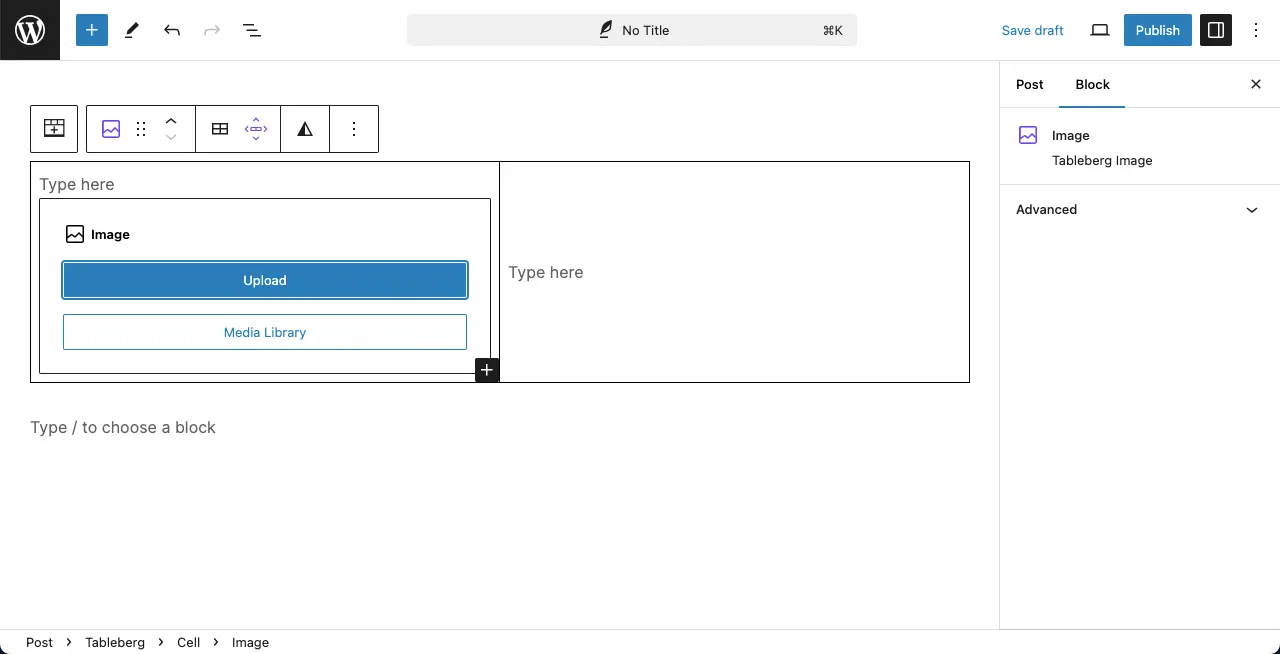
Upload the image for the local drive or add one from your media library.
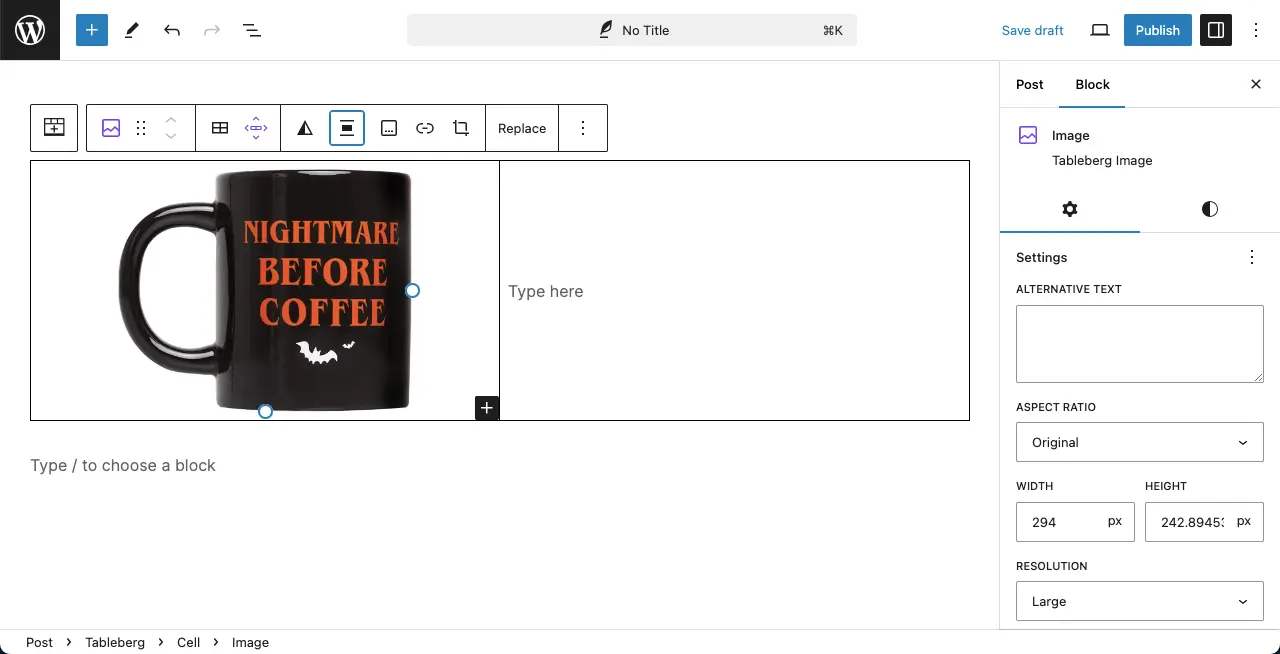
We have added an image, which you can see below.
Step 03: Add Text to the Table
Simply add text to the right column using the paragraph block.
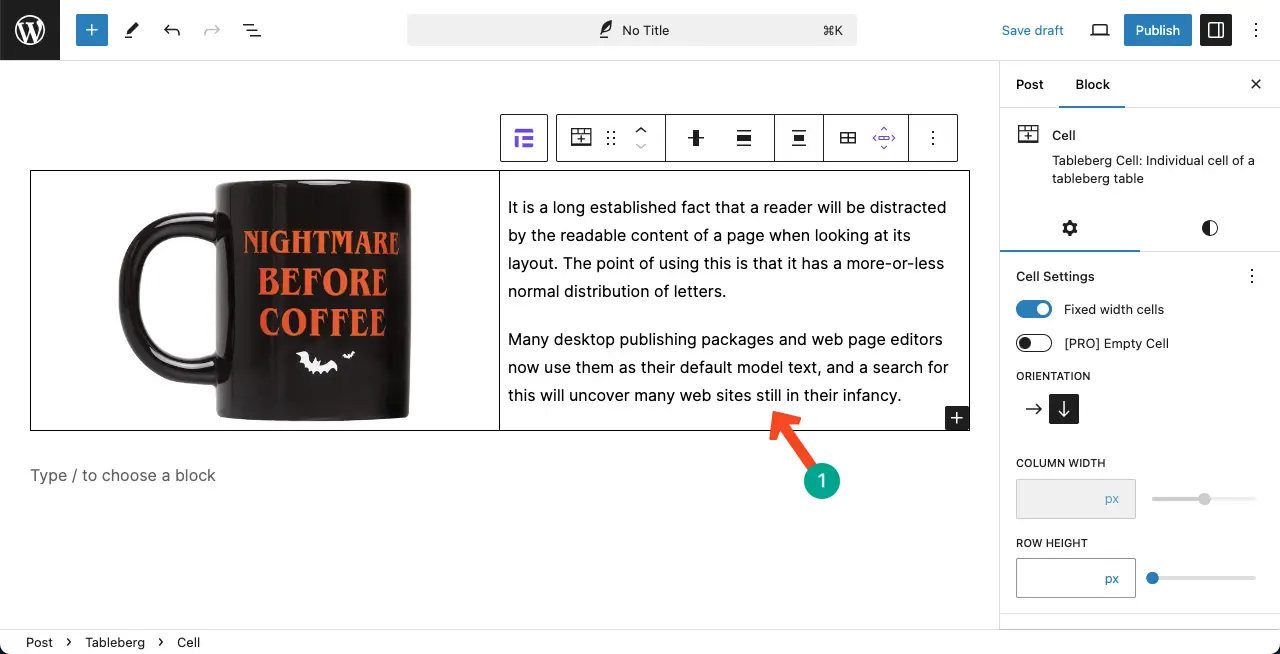
Step 04: Modify the Tableberg Border
You can make this section more appealing by removing or colonizing the table border. Go to the Styles tab.
Come to Table Border by scrolling down the tab. You’ll get options to remove or colorize the table border from these options.
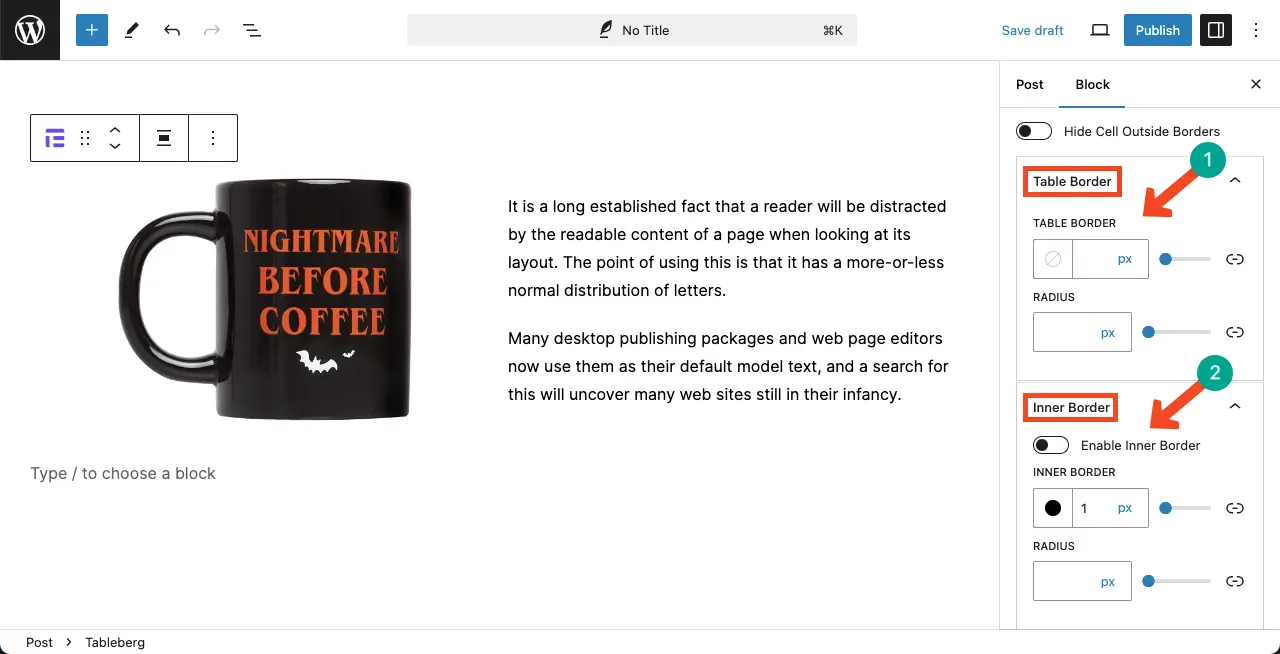
Thus, you can create web sections to put text and image side by side in WordPress.
Method 4: Using the Sliderberg Block
Want to showcase text and images side by side in an interactive slider? The Sliderberg plugin lets you do exactly that — using the familiar Media & Text block, with full flexibility. Here’s how to set it up in just a few minutes:
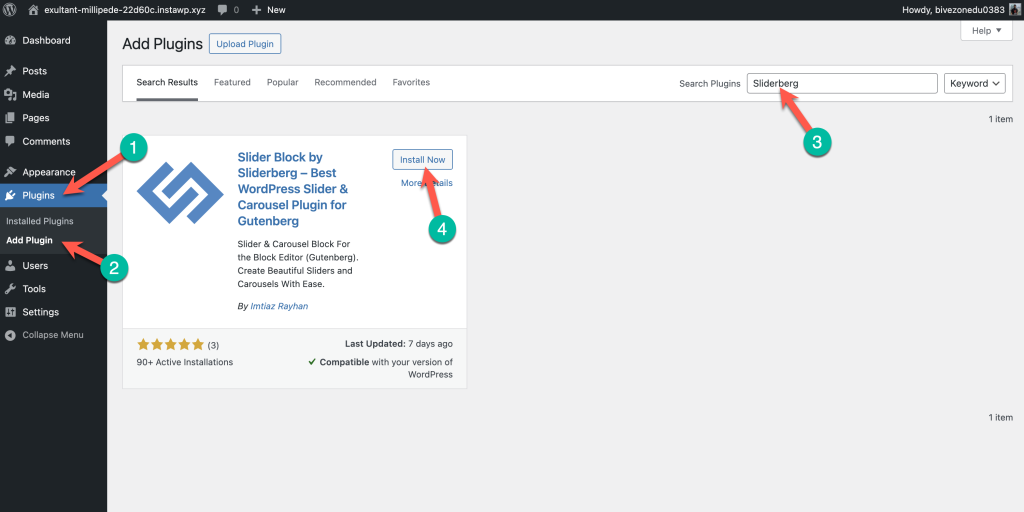
Step 1: Install and Activate the Sliderberg Plugin
First, go to Plugins → Add New in your WordPress dashboard, search for “Sliderberg,” and click Install Now. Then activate the plugin.
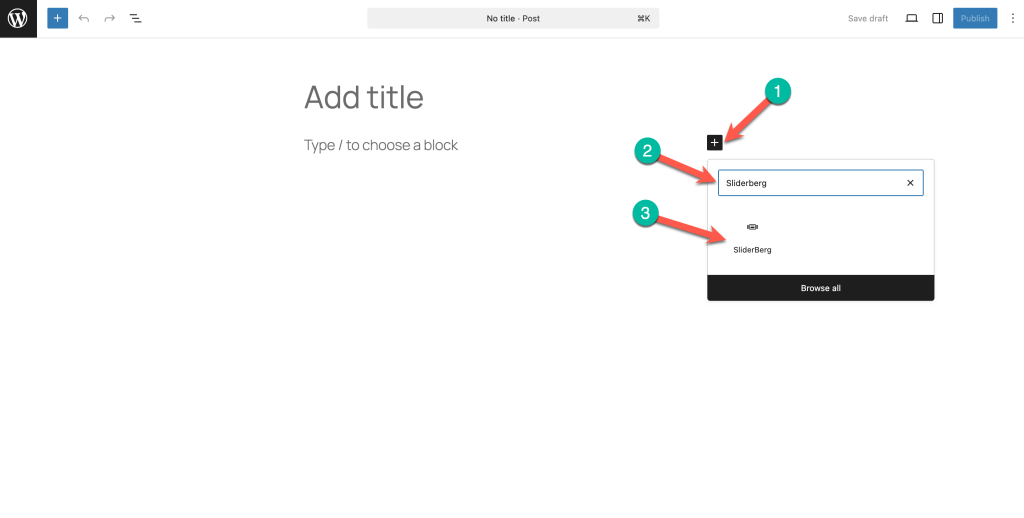
Step 2: Insert the Sliderberg Block
Edit your post or page. Click the + button, search for “Sliderberg,” and insert the Sliderberg block where you want the slider to appear.
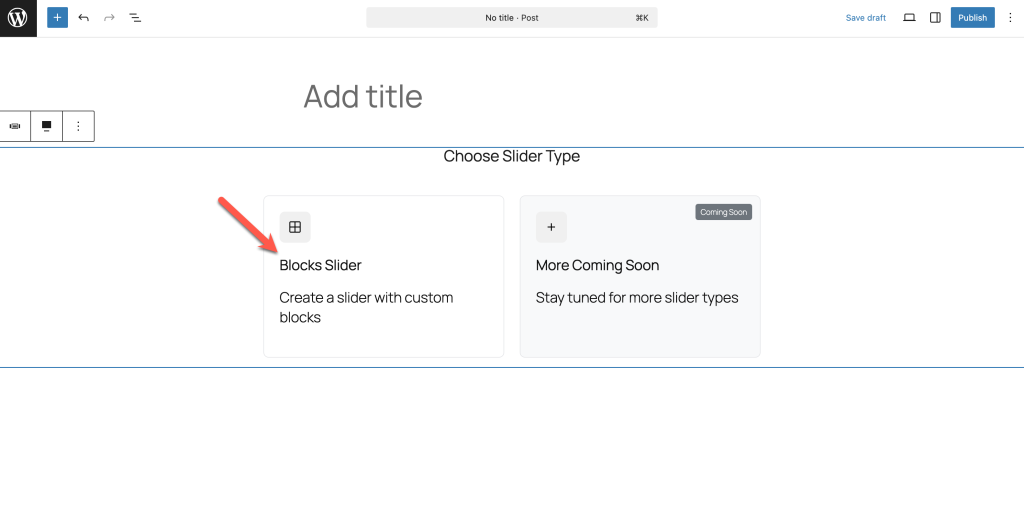
Step 3: Select the ‘Blocks Slider’ Type
When prompted, choose the Blocks Slider option. This lets you add any Gutenberg blocks inside each slide.
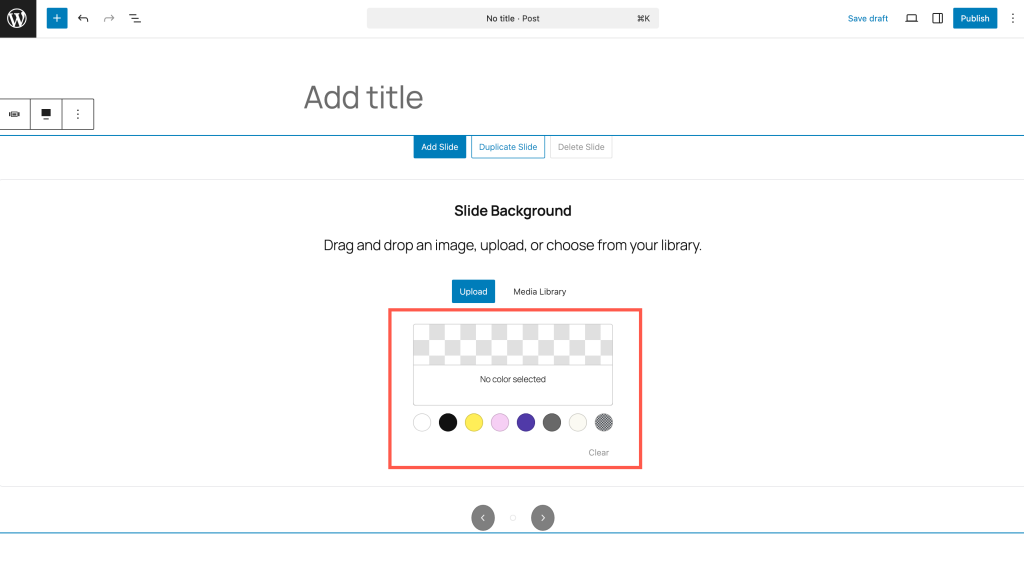
Step 4: Choose a Background Color for the Slider
Pick a background color for your slider to match your site’s style, or keep it transparent for a clean look.
Step 5: Add the ‘Media & Text’ Block Inside the Slider
Inside your first slide, click the + button and insert the Media & Text block.
Step 6: Add Image and Text to the Slider
Use the Media & Text block to upload your image (left side) and add your text (right side). You can use headings, paragraphs, buttons, or any other blocks you need.
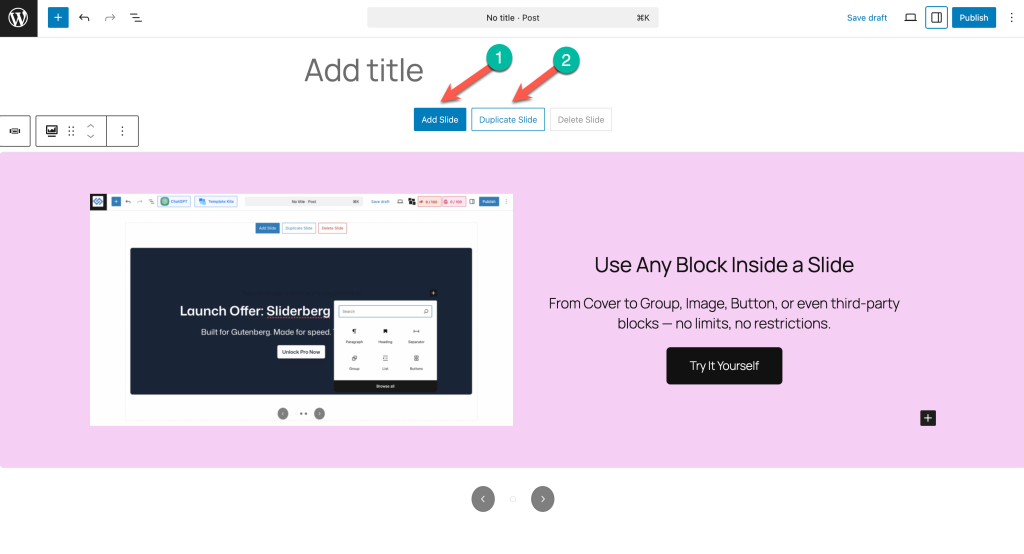
Step 7: Add or Duplicate Slides
Want more slides? Click Add Slide to create a new one, or Duplicate Slide to copy an existing layout.
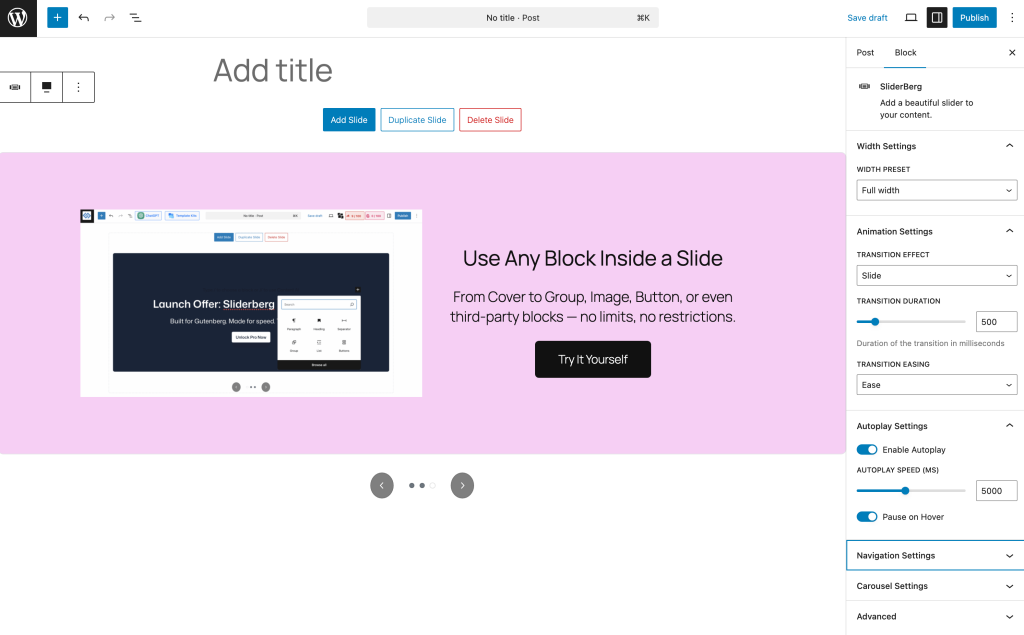
Step 8: Customize the Slider and Publish
Tweak the slider settings (animation, autoplay, navigation arrows, etc.) to match your preference. When you’re ready, click Publish to go live!
Now you have a smooth, responsive slider showing text and image side by side—perfect for team showcases, products, testimonials, and more.
Pro tip: You can use any block inside your Sliderberg slides—not just Media & Text! Get creative with buttons, icons, columns, or even third-party blocks.
Conclusion
Indeed, you can leverage the default Gutenberg blocks to create and design your web posts and pages. But as they lack many advanced features, you often need additional block plugins that come with many exciting features.
Tableberg is an exciting plugin you can use in this case. Ultimate Blocks is another great block plugin you should consider. Explore the free versions of both these two plugins by clicking the buttons attached below.
Also Read:

