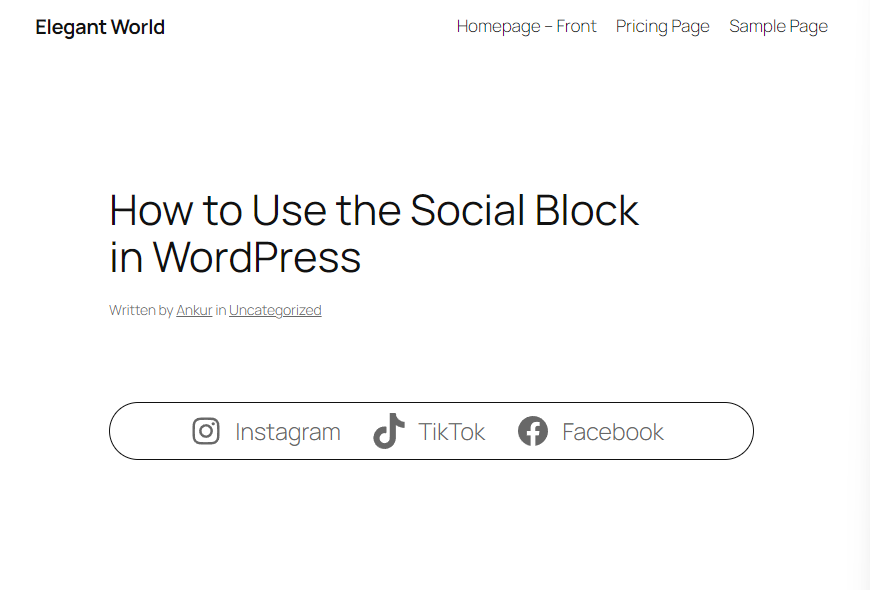
The Social Icons block in WordPress allows you to integrate social media into your website easily. Social media is essential for enhancing user engagement and expanding your online presence.
The Social Icons lets you add clickable icons linked to your social network platforms. It is helpful and helps your visitors to connect with you on various platforms.
Today, we will see how to use the Social Icons block in WordPress and an overview of the Social Icons block. Make sure to stay with us.
Create Beautiful Tables
With Block Editor

How to Use the Social Icons Block in WordPress?
You will not need to install any third-party plugin to use the WordPress social icons block as it is built-in. Follow the steps below and learn how to use it.
Insert the Social Icons Block
Go to your post or page where you want to insert the social icons block.
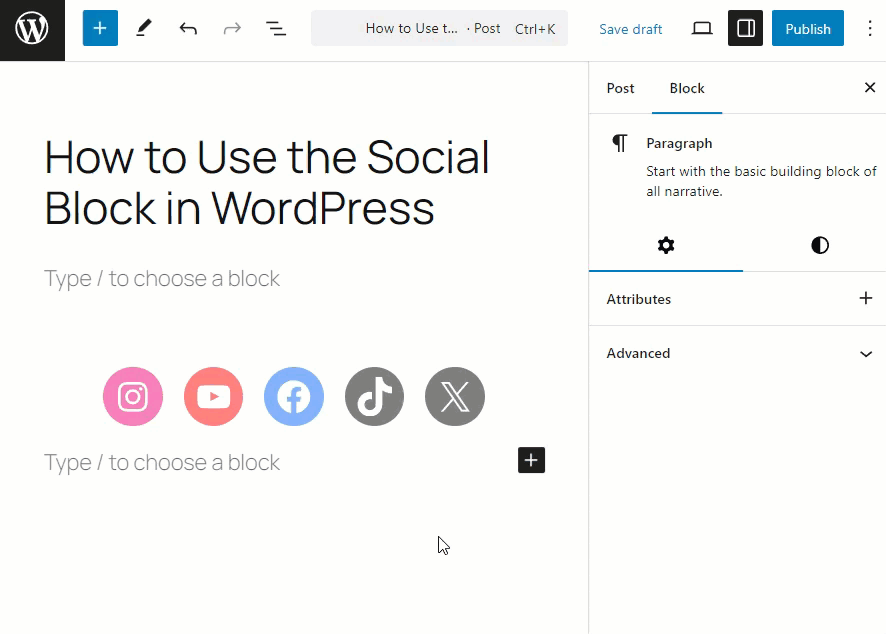
Now click “+” (Add block icon) (1). Type “Social Icons” in the search box (2). Finally, select the block (3).
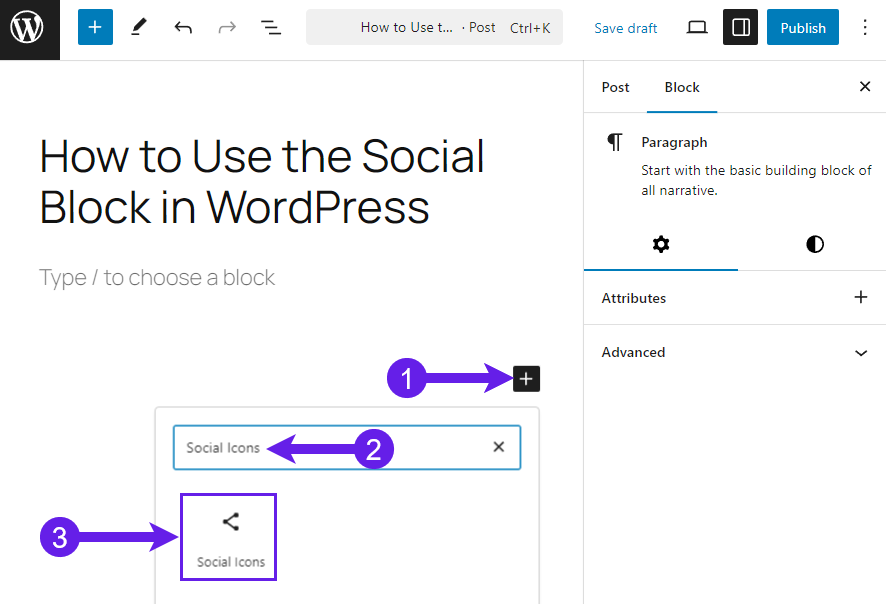
After selecting the block, the Social Icons will be inserted.
Insert Your Social Icons
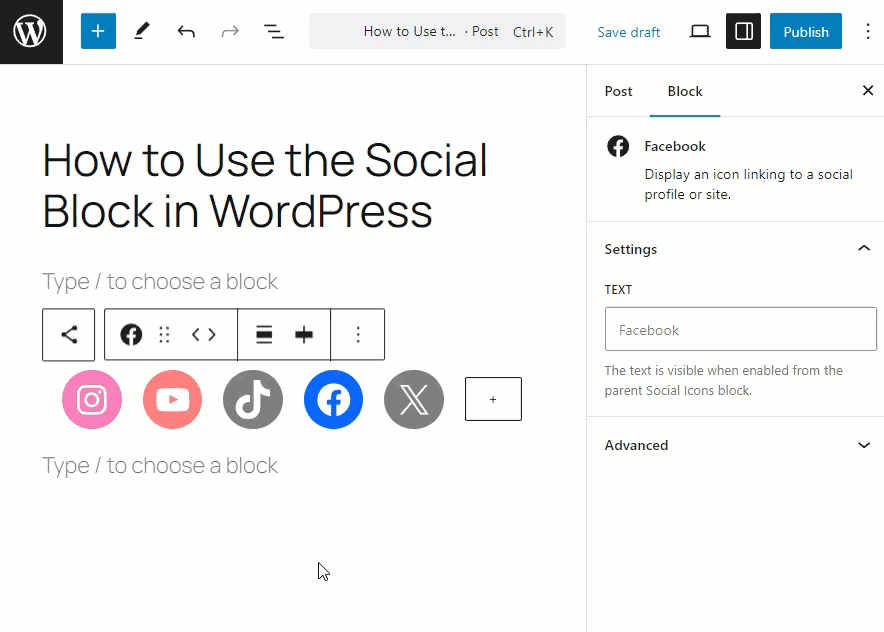
Click the Add Block icon to insert the social icons into the editor (1). Select your desired social media icons from the window (2).
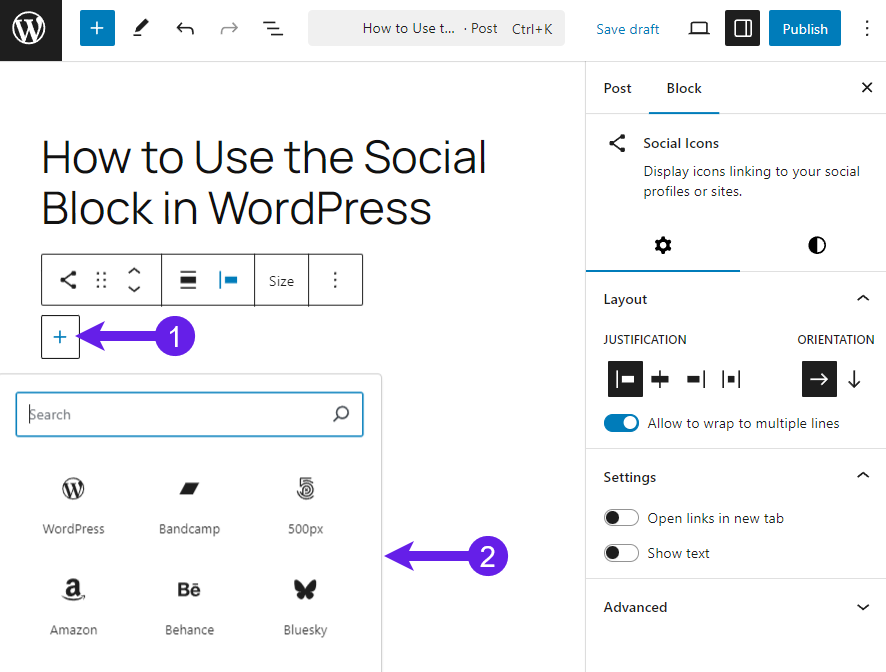
If you do not find your desired social icons, you can search for them in the search box (1) and add as many as you want.
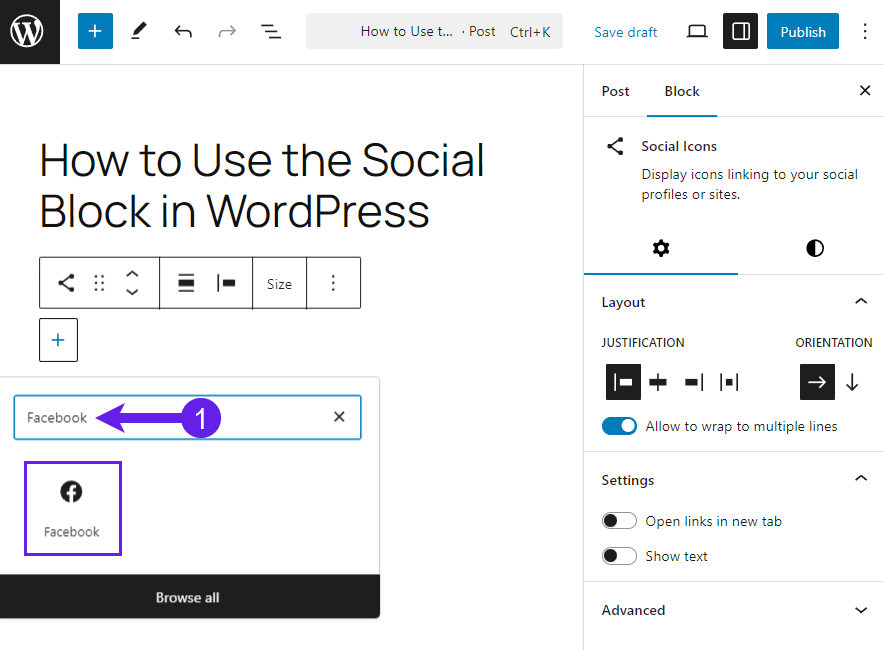
But if you want to delete one, select the icon using your mouse pointer and press the “Delete” option from the keyboard.
You can add multiple social media icons if needed. Check out the demo below.
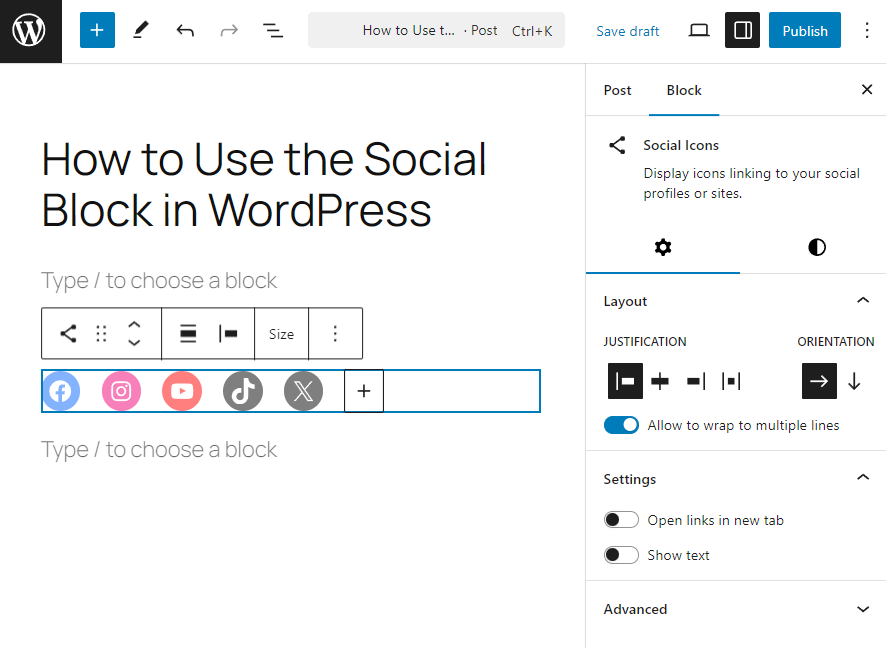
After adding the icons, you must add your social media links for each icon. To add the link, click on the icons and insert your links.
Block Customization
You can rearrange the icon position if you wish.
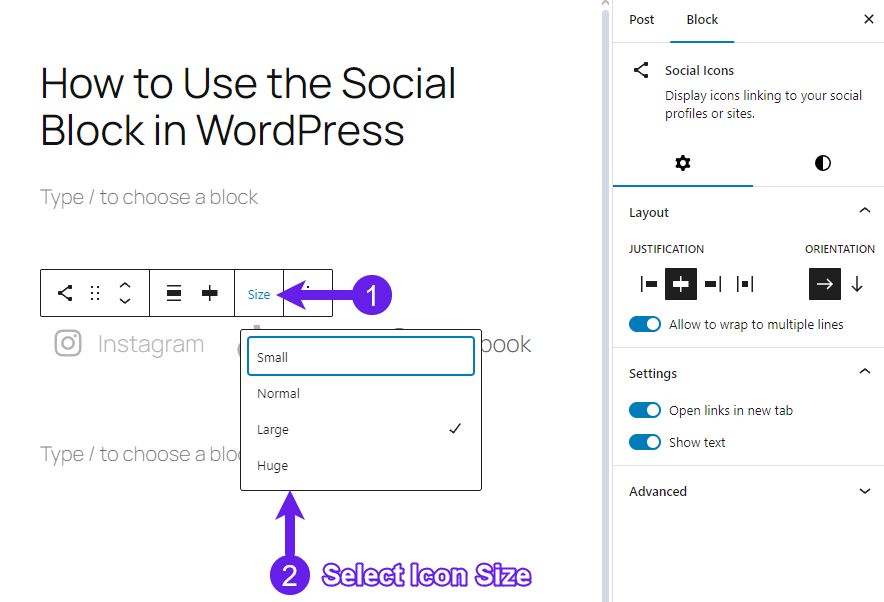
The icon size is customizable from the editor. Click the Size option (1) and select the size of your social icons (2).
You can change the layout justification and orientation in the Block settings menu.
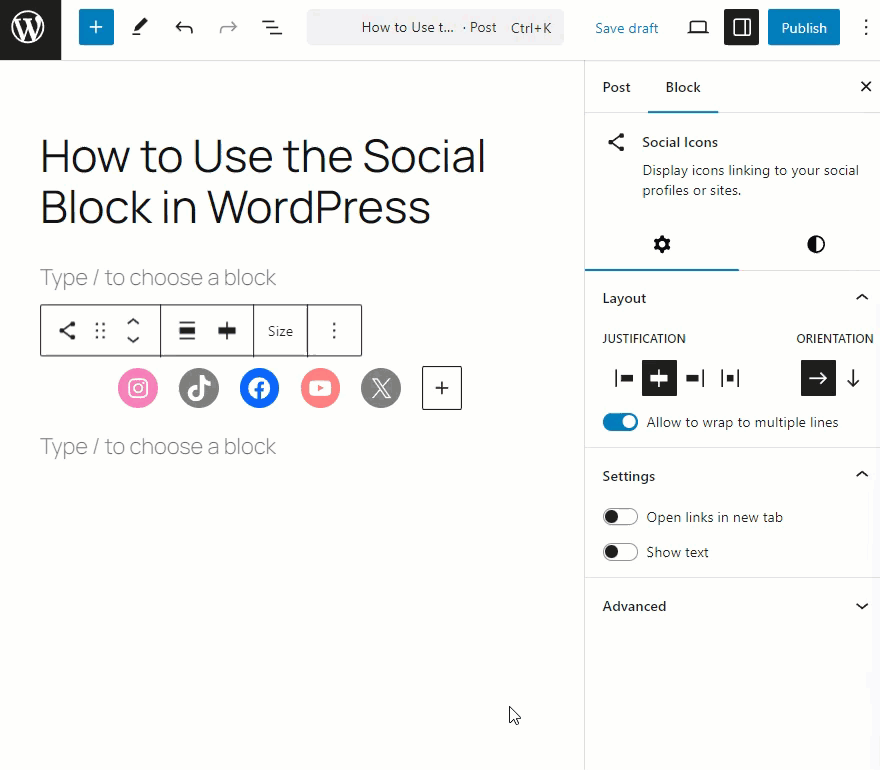
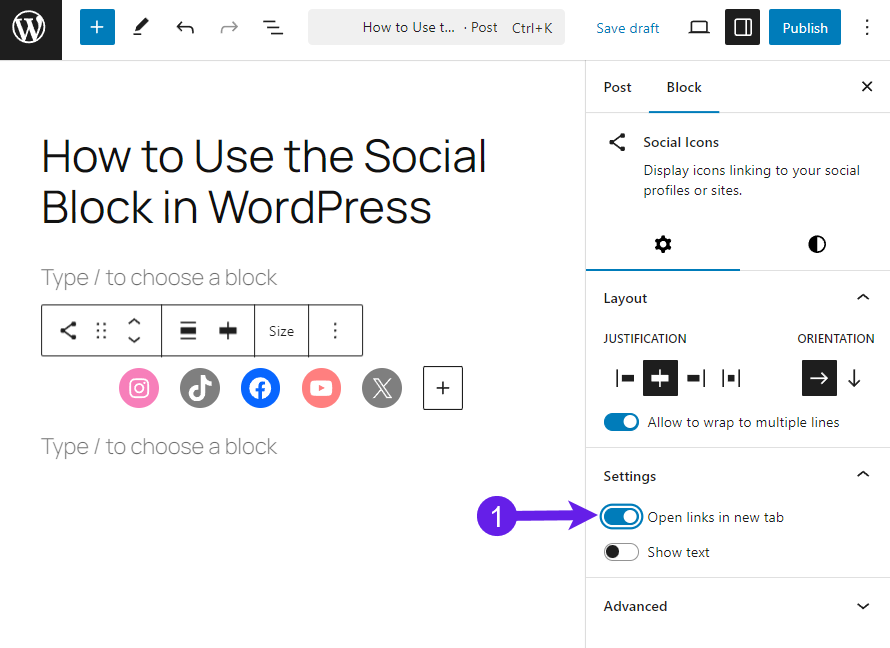
If you want your social icon to open the social link in a new tab, you must enable the option of “Open links in a new tab.”
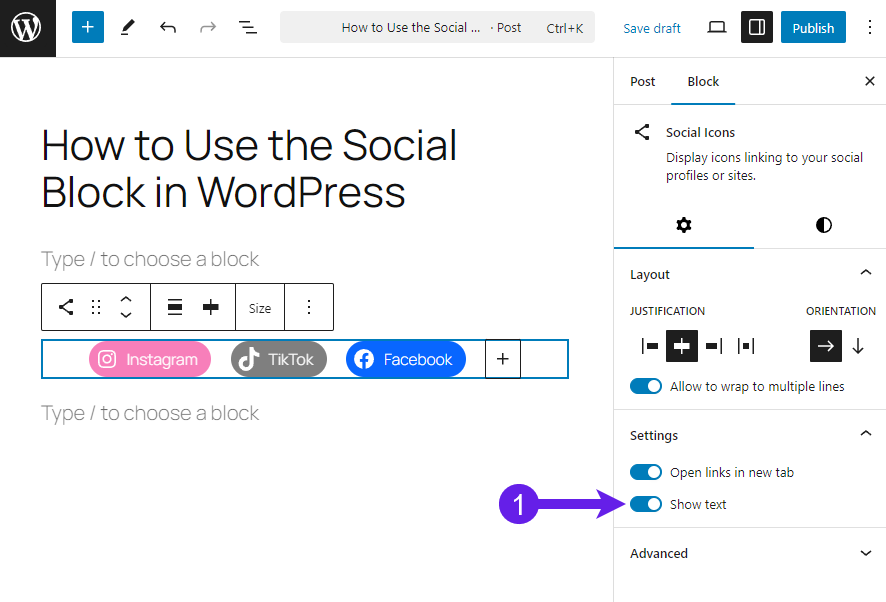
If you enable the “show text” option, the icons will be displayed like the one below.
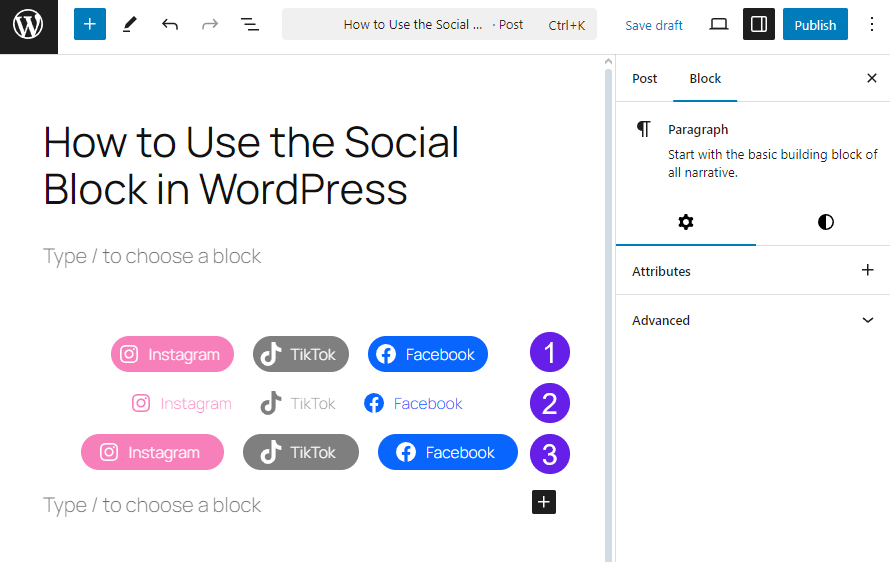
There are even more styles in the “Styles” tab. You select from three Styles: Default (1), Logos Only (2), and Pill Shape (3). A demo of three styles is below.
There are some other customizations explained below.
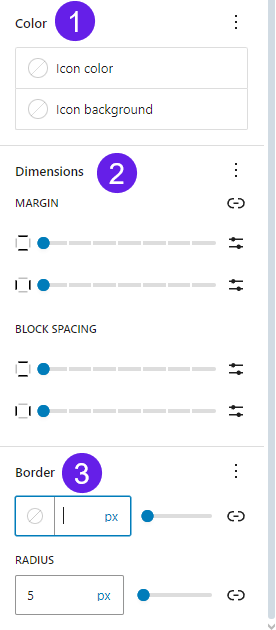
- Color: This function lets you change the color of the icon and icon background.
- Dimensions: Dimensions allow you to adjust your Social Icons block’s margin, padding, and block spacing.
- Border: The border option lets you adjust the border and border radius for the block.
The customized demo of the social icon block is below.
After all the customization, you must save or publish the post.
Note: Remember that the social icons will not be visible until you assign a link to each icon. Therefore, you must assign links or your social icons if you want them to display on your posts or pages.
Overview
What is the Social Icons Block?
The Social Icons Block is a core block that comes with WordPress and lets you add social icons to your posts and pages. You can add numerous individual social icons.
Each icon acts as a link to your specific profile, making it easy for visitors to follow, like, or engage with your social media content directly from your website.
What are the Key Features of the Social Icons Block?
The key features of the social icons block are the following:
- Multiple Social Platforms: Supports popular platforms like Facebook, Twitter, Instagram, LinkedIn, YouTube, and more.
- Customizable Icons: Choose from various icon styles and adjust their size, color, and alignment.
- Easy Linking: Simply add your social media URLs to the corresponding icons.
- Flexible Layout: Arrange icons horizontally or vertically to fit your site’s design.
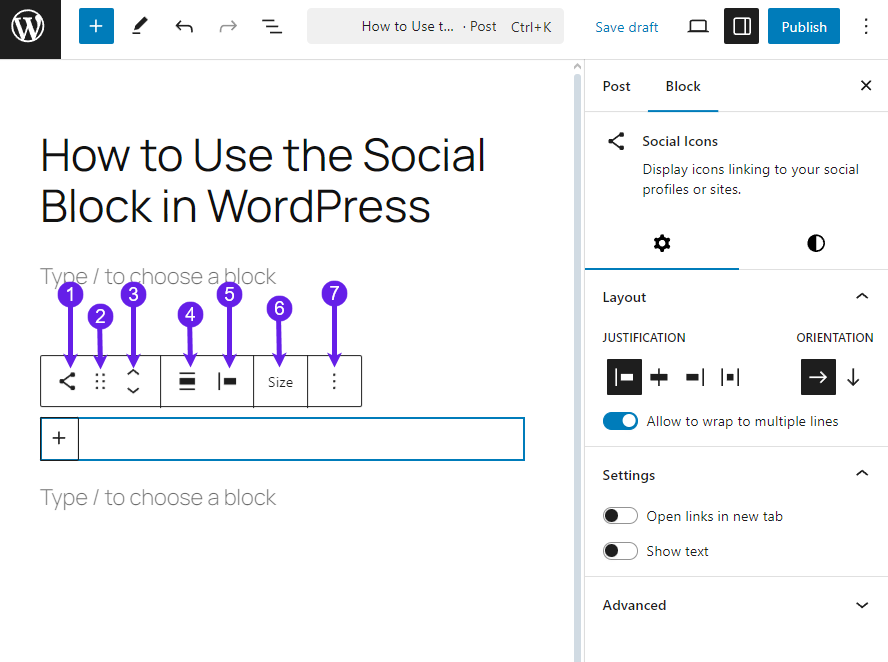
What are the Toolbar Features of the Social Icons Block?
When you select the Social Icons block, a toolbar appears with several options:
- Transform To Convert the block into a different type, such as a group or column.
- Drag: Allows you to drag and drop the block anywhere in the editor.
- Moving Handles: This option lets you move the block up and down to any other block.
- Align: Adjust alignment (left, center, right, or full width) to fit your content layout.
- Change Items Justification: Changes the icon position.
- Size: Allows you to modify the size of the icons.
- More Options: Access additional settings like grouping or adding custom CSS classes.
Final Thoughts!
The Social Icons block in WordPress offers an effective way to connect your website with your social media channels.
By customizing icons and linking them to your profiles, you can encourage visitors to engage with your content beyond your site and establish a strong connection.
I hope the tutorial is easy to follow. Let me hear your thoughts in the comment section below. Also, share this with your friends and let them know about it.
Read More!

